Hydroponics With a Fish Tank Explained
What Do You Call Hydroponics With a Fish Tank? Aquaponics!
You’ve probably heard about hydroponics with a fish tank. It’s called aquaponics, and you’re probably wondering why would anyone build a hydroponic system with a fish tank and how it all works.
Aquaponics is a combination of aquaculture, which is growing fish and other aquatic animals, and hydroponics, which is growing plants in water. In aquaponics, everything starts with fish food, which works as the system’s input. As fish eat this food and process it, they transform it into urine and faecal matter, both rich in ammonia, which can be toxic to plants and fish in sufficient quantities. Next, the water (now rich in ammonia) flows from the fish tank into a biofilter together with uneaten food and decaying plant matter. Afterwards, the bacteria in the biofilter break everything down into organic nutrient solutions (nitrogen-rich) for growing vegetables.
So, in hydroponics with a fish tank (properly called aquaponics) everything relies on 3 main components: the fish, the nitrifying bacteria, and the plants—and all of them depend on each other to survive. Without the bacteria to consume the fish waste, plants wouldn’t have a usable form of nutrients, which is why biological filtration is crucial. And thanks to plant growth, nutrients are removed from the water, leaving it clean for the fish.
Since aquaponics uses basically the same systems as hydroponics, there aren’t many differences in how the system works, except for the added fish in the water tank. Ebb and flow, drip, deep water culture (DWC), and nutrient film technique (NFT) can be used with aquaponics. There are also media-based aquaponic systems, and these are the most common and popular type of aquaponic system. In this system, there is a fish tank and a grow bed with the growing medium, such as gravel or expanded clay pellets, that provide a surface for beneficial bacteria to break down fish waste and turn it into nutrients. The water is pumped from the fish tank to the grow bed and is then returned to the fish tank.
Be careful however when using a closed-loop system where the water is reused like Kratky, DWC. By doing so, you're removing the water from its biofilter, which comes with the risk of a pathogen bloom (poison).
If you want to use the water in a hydroponic setup (closed loop), you should include a medium that supports microbes, such as clay pebbles (ebb & flow) or biochar (drip).
You can have any freshwater fish in an aquaponic system, most popular being tilapia and barramundi because they tolerate better diverse water conditions and they grow fast. Trout can also be used especially for lower water temperatures. Other aquatic animals you can grow are snails and shrimp.
In a small aquaponic system you can grow vegetables that are not heavy feeders, like lettuce, kale, spring onions and leeks, radishes, spinach, okras, arugula, mint, herbs, watercress, decorative flowers, and other small vegetables. Heavy feeders, like tomatoes, cucumbers, beans, broccoli, cabbage, cauliflower, and strawberries, require more nutrition and a more advanced aquaponic system. You should also avoid growing plants that need acidic or alkaline water because those pH levels can definitely harm the fish.

Building an Aquaponic System
Supply List
- Fish tank (preferably 20–40 gallons (75–150L))
- Growing tray/container
- Air pump with tubing and air stone
- Submersible water pump
- PVC pipes or similar tubing
- Bulkheads or universal seals
- Growing medium (clay pebbles work best)
- Fish
- pH and EC meter
- Grow lights
Step 1: Set Up a Fish Tank
First, you need to choose a fish tank. You can use a standard 10, 20, or 40-gallon fish tank, or opt for something more affordable. Many DIY aquaponic systems are made with food-grade containers, like totes or large rain barrels.
You’ll need to set the tank up as you would a normal fish tank. Dechlorinate the water and allow it to cycle for 4–6 weeks before you add any fish. This gives the bacteria time to build up so that there is enough present to break down the ammonia and nitrites into the nitrates needed to feed your plants. Make sure to include a submersible water pump inside the tank and an air pump outside the tank.
Step 2: Make a Media Bed
DIY media beds (also known as grow beds) are typically made out of shallow totes, plastic trays or bus bins, or even wood lined with heavy-duty plastic sheets. Make sure that your grow bed has the same (or very close) volume as your fish tank.
When you’ve decided what you will use for the grow bed, you need to create a support system for it. You can use a table or shelving to support it. Keep in mind that the bed will be quite heavy when the growing medium and plants are added, not to mention water.
It’s best to position the grow bed just above the fish tank, but you can also place it to the side of the tank if supporting its weight is an issue. However, you may need an additional water pump in this case. Once your bed is in position, it’s time to add the bulkheads.
Do so by drilling out holes and inserting the bulkheads. Most of the time, they come with gaskets that create a watertight seal. If yours don’t have seals, use rubber cement or a universal sealer to make sure there are no leaks. Now, add the growing medium, and that’s it, you’ve set up your grow bed successfully!
Step 3: Set Up the Piping
Now you need to connect your PVC pipe to the bulkhead you installed on the bottom of the media bed and position it down into the fish tank. Also, connect a proper length of tubing to the outlet on the water pump, and run it to the top of the media bed. Once connected, the water pump will send water to the grow bed, and after soaking plant roots, it will drain out through the PVC pipes and return to the fish tank.
Step 4: Add Fish to the System
Once your tank has cycled properly, you can add the fish. There are a variety of different fish that work well in an aquaponics set up. Common choices include tilapia, barramundi, goldfish, koi, pacu, and any ornamental fish, such as guppies, tetras, or mollies.
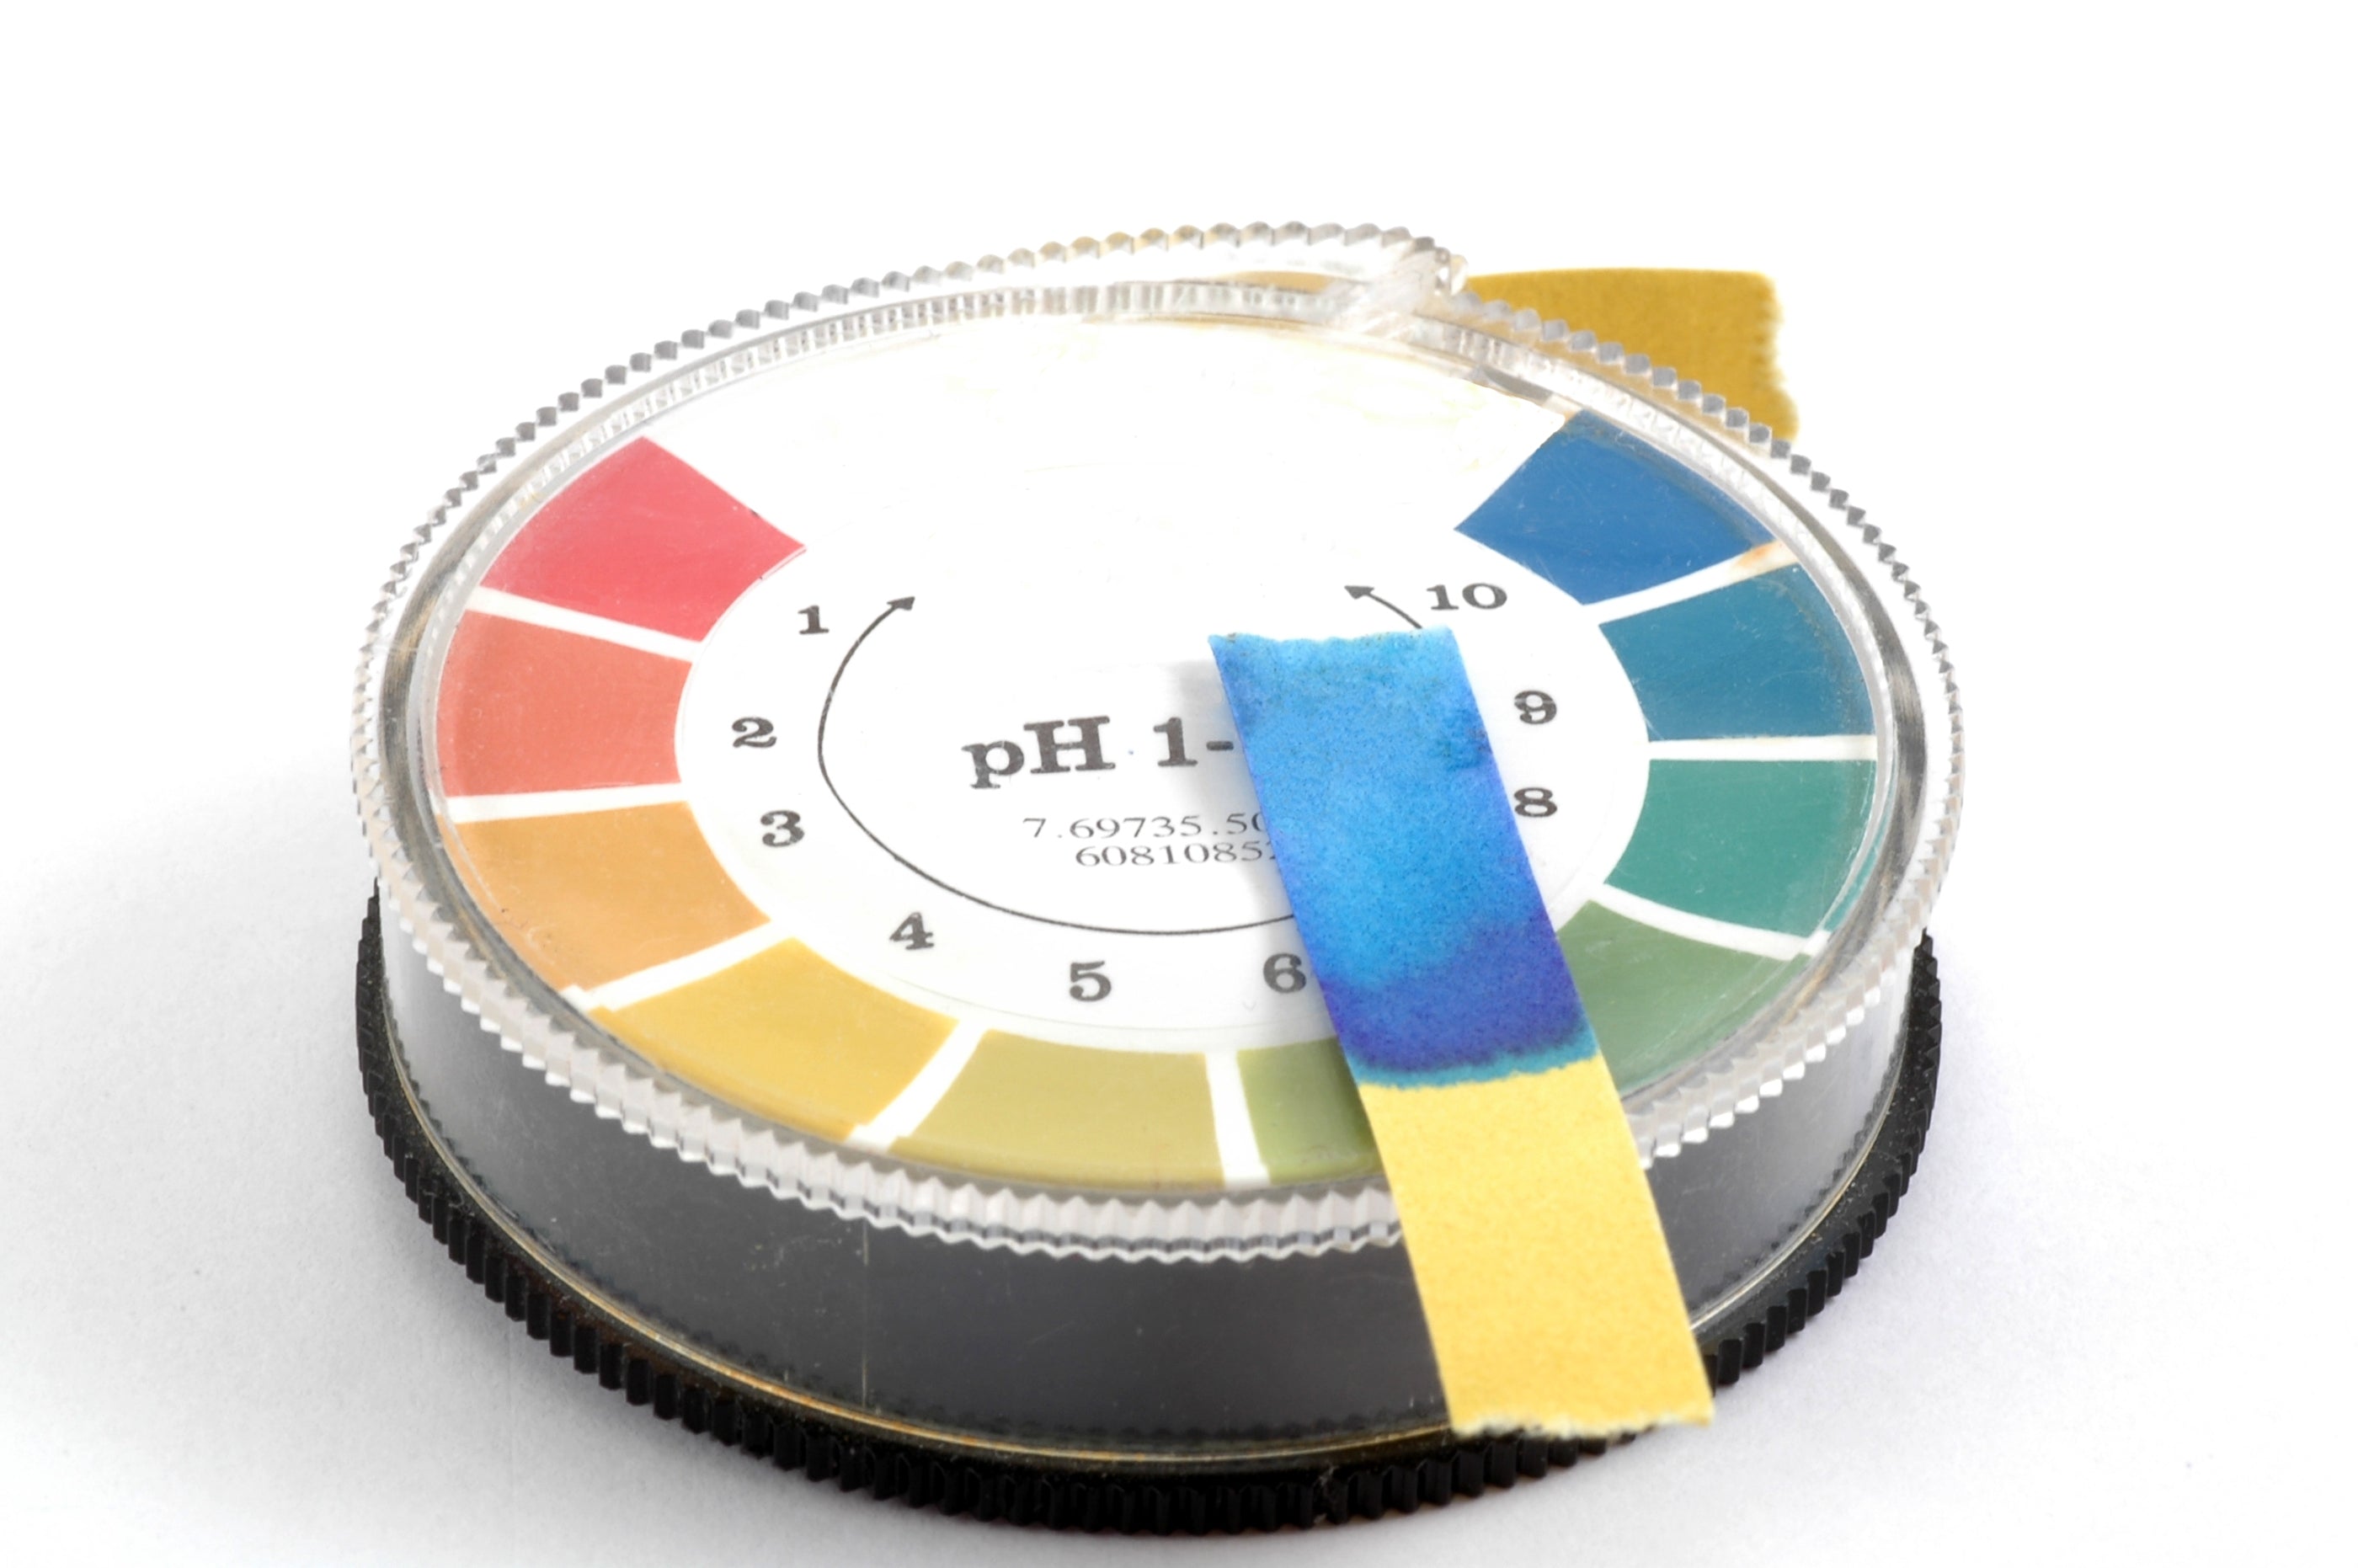
Make sure to check the water pH level. Fish prefer pH levels between 6.8 and 7.2. Fish waste is acidic, so it will change the pH level of water, and you need to check it regularly to ensure it is within normal levels. If they aren’t balanced enough for the type of fish you will use, use liquid pH and EC adjusters to fix the issue.
Step 5: Add Plants to the System
Once everything is set up, it’s time to add the plants. Depending on how you set up your grow bed, you can add plants to individual netted pots sunk into the growing media or set the roots of each plant into the bed and cover them with the growing medium so that they are properly anchored.
As mentioned previously, if you have a small system, you should grow plants that are light feeders, such as lettuce, kale, spring onions and leeks, radishes, spinach, and herbs. If you have a heavily stocked tank and well established set up, you can try growing heavy feeders, like tomatoes, cucumbers, peppers, beans, or strawberries.
Once you’ve added the plants to your aquaponic system, set up your grow lights, and your system is ready to go!
Step 6: Maintain Your Aquaponic System
Maintaining an aquaponic system is not as difficult as it might seem. You’ll need to feed your fish a quality diet. You can use a simple flake food and give them the occasional treat. Only feed your fish as much as they can eat in around 5 minutes, 2–3 times per day.
You’ll need to test the tank water every week to check the pH, ammonia, nitrite, and nitrate levels. Ammonia and nitrite levels should always be non-detectable, and the nitrites should be low if the plants are doing their job properly. The pH should be neutral, between 6.8 and 7.2, which is ideal for the fish, the plants, and the bacteria. As mentioned previously, water pH level will often drop because fish waste makes water more acidic, so you’ll need to raise the pH level by using liquid pH adjusters. In a well-balanced aquaponic system, you will never need to change the water completely, but you will need to top it up because some water will be absorbed by plants.
Make sure to check your tank for dead fish regularly and remove them if you find any. Also, check your plants for pests and diseases often. Keep an eye on the water temperature—it should be between 20 and 30ºC (68–86ºF). If the water becomes too hot, you can place ice packs into the aquarium or purchase an aquarium chiller. It is not a cheap investment, but if you live in a hot climate, it is definitely worth it. Aquarium chillers can cool down water in your aquarium quickly, and they do it automatically, so you won’t have to add ice packs all the time and watch the temperature.
Aquarium chillers operate a coil placed inside your aquarium. When the temperature hits a certain level, the machine kicks in and chills the coil, which then cools the water. If the water becomes too cold, you can purchase an aquarium water heater. They are really easy to use. Simply slip them into your hydroponic water reservoir, turn them on, and let them do their job. Once the ideal temperature is reached, the heater shuts off automatically. When your hydroponic water temperature starts to cool down again, the unit will turn back on and heat it up.
For more great content check out the Proponics YouTube channel below!

By Max Barnes
Max Barnes is a long-time homesteader and author. Max grows the majority of his own food year-round using a variety of different methods, including hydroponics. Hydroponic gardening plays a huge part in his homestead and self-sufficiency goals.


