Ebb and Flow Hydroponic Systems Explained and How to Build
What Are Ebb and Flow Hydroponic Systems?
Ebb and flow hydroponic systems are also sometimes called flood and drain. In this system, your plants are flooded with the nutrient solution on a cycle. Many home gardeners use this technique. Plants are put into a grow bed filled with a growing medium, like rockwool, coco coir, or hydroton. The grow bed is flooded with the nutrient solution until it’s a couple of inches below the top layer of the growing medium to ensure it doesn’t overflow. This technique uses a water pump to flood the grow bed, and it will switch off on a timer so that water can drain and go back into the reservoir.
This technique can be used to grow most plants and is particularly good for root crops, such as carrots and radishes, because unlike in other types of hydroponic systems, plants are not constantly exposed to water in the ebb and flow system. When the water ebbs, the grow bed empties, and the roots will dry out and take in oxygen before they are flooded again. An air pump should also oxygenate the water in the reservoir as it sits there before the next flood cycle.
It is advisable not to grow especially large plants with this technique because they need a lot of space to grow, and you also need to fit the growing medium and the plants’ roots into the grow bed. If you want to grow root vegetables, you’ll need a deeper bed. Ebb and flow systems work well for growing a variety of different vegetables, including tomatoes, cucumbers, peppers, peas, beans, beets, carrots, and strawberries.
You need to ensure the pump is working so that the solution ebbs and flows properly and the grow bed is draining adequately to prevent root rot. You also need to make sure it’s all clean to prevent mold and insects. Another thing to consider is the growing medium that you grow the plants in. It will be flooded, so it’s best not to use perlite because it’s too light and plants may float or tip over. Slightly heavier growing mediums, such as rockwool or coco coir, are better to use with ebb and flow systems.
This system does need to be balanced and timed correctly because if it isn’t, there is a risk that you could either oversaturate your plants or they could dry out. You will also need to monitor the pH level of your nutrient solution regularly.
With ebb and flow systems, you would usually irrigate in cycles where you have a time for irrigation and a time where the plants are dry. The irrigation typically occurs for 10–15 minutes every 2 hours of daylight. This includes the time that you have grow lights on too. A minimum time for irrigation is 5 minutes, but you would typically need more in most cases. The plants won’t require nutrition and water to photosynthesize when it’s dark, so they don’t need irrigating at night, and your plants can rest during that time. The only time you would irrigate at night is if the weather is especially hot and dry.
The ebb and flow system isn’t a system that newcomers to hydroponics would immediately jump into because it does have some complexity to it in terms of setting up the irrigation with plastic pipes and using a reversible pump and timer. You will also need to get used to the cycles and phases that this system requires. It has a number of parts to the system, and if something breaks, especially the pump, this can prevent the system from working properly. It’s really important that the roots don’t dry out completely. You will need to know about the crops that you are growing and what their nutritional, water, and humidity requirements are. You will also need to clean the pump frequently because bits of roots or leaves from plants can get stuck in there. The piping may also become clogged from time to time. Keep in mind that the pump will generate some noise, so it’s important to consider where you would place your system. After all, you don’t want it to annoy you or disturb your sleep.

Building an Ebb and Flow System
This system is fairly easy to build, and it’s a very flexible system that can be made to take any size of plants.
Here’s what you’ll need to build an ebb and flow system:
Supplies
-
Four 8-inch (20 cm) pots
-
18-gallon (68.4L) Rubbermaid black storage tote bin with a lid
-
30-quart (28.4 L) Rubbermaid snap topper clear tote which will fit on top of the tote bin
-
Timer with 15-minute increments
-
Aquarium air pump with 6 feet (1.8 m) of tubing
-
T-connector and a 5-inch (12.5 cm) air stone
-
Black irrigation tubing ½ inches (1.2 cm) in thickness and about 18 inches (45 cm) long
-
Growing medium—rockwool, coconut coir, and hydroton work well for ebb and flow systems.
-
120 gallons per hour (455 liters per hour) submersible pond pump
-
Fill and drain fitting set with an extension
-
Nutrient solution
-
pH meter
- pH control kit to adjust the pH level of your nutrient solution
Tools
-
Power drill
-
1 ¼-inch (3.2 cm) hole saw
-
3/8-inch (9.5 mm) regular or spade drill bit
- Zip ties
Instructions
- Cut two 1 ¼-inch (3.2 cm) holes in the middle of the clear Snaptopper tray. You can sand the edges of the holes with sandpaper to ensure they are smooth. You can place your 4 pots around the holes.
- Put the clear tray on top of the black tote lid, mark the holes, and cut two 1 ¼-inch (3.2 cm) holes in the black lid that match up perfectly.
- Cut two more 1 ¼-inch (3.2 cm) holes at the sides of the black lid—one for the pump plug and the other to be able to check the nutrient solution level.
- Put the drain fittings into the center holes of the clear bin only. You will need to hand tighten the rubber gasket on the underside—don’t use tools to do this. Put an extension on the overflow tube, which is the thicker ¾-inch (1.9 cm) tube.
- Put ½-inch (1.2 cm) tubing over your water pump outlet. You may need to secure this with a zip tie or taper the tube to ensure a nice, snug fit.
- Place the clear tray with the drain fittings in back over the black lid. The fittings should drop down through the holes in the black lid.
- Ensure that the ½-inch (1.2 cm) black tubing sits on the bottom of the black tote bin (which will be the reservoir) once the lid is on. You may need to measure this and trim it slightly. Be careful not to cut too much off initially. Push the tubing over the shorter drain tube (the ½-inch (1.2 cm) tube) from under the black lid. Again, you may need to secure this with a zip tie.
- Place the air stone into the black tote, and put the airline tubing and the pump plug through the side holes you drilled. Put the lid assembly on top of the tote and ensure it is snapped into place. It is a flexible system, and you can grow small seedlings in the same tray as large plants.
- It’s a good idea to take a bit of wooden doweling to use as a dipstick so that every time you add 2 gallons (7.6L) of water into the reservoir you can mark it with a permanent marker. This will help you measure the nutrient level later without needing to remove the top or the plants.
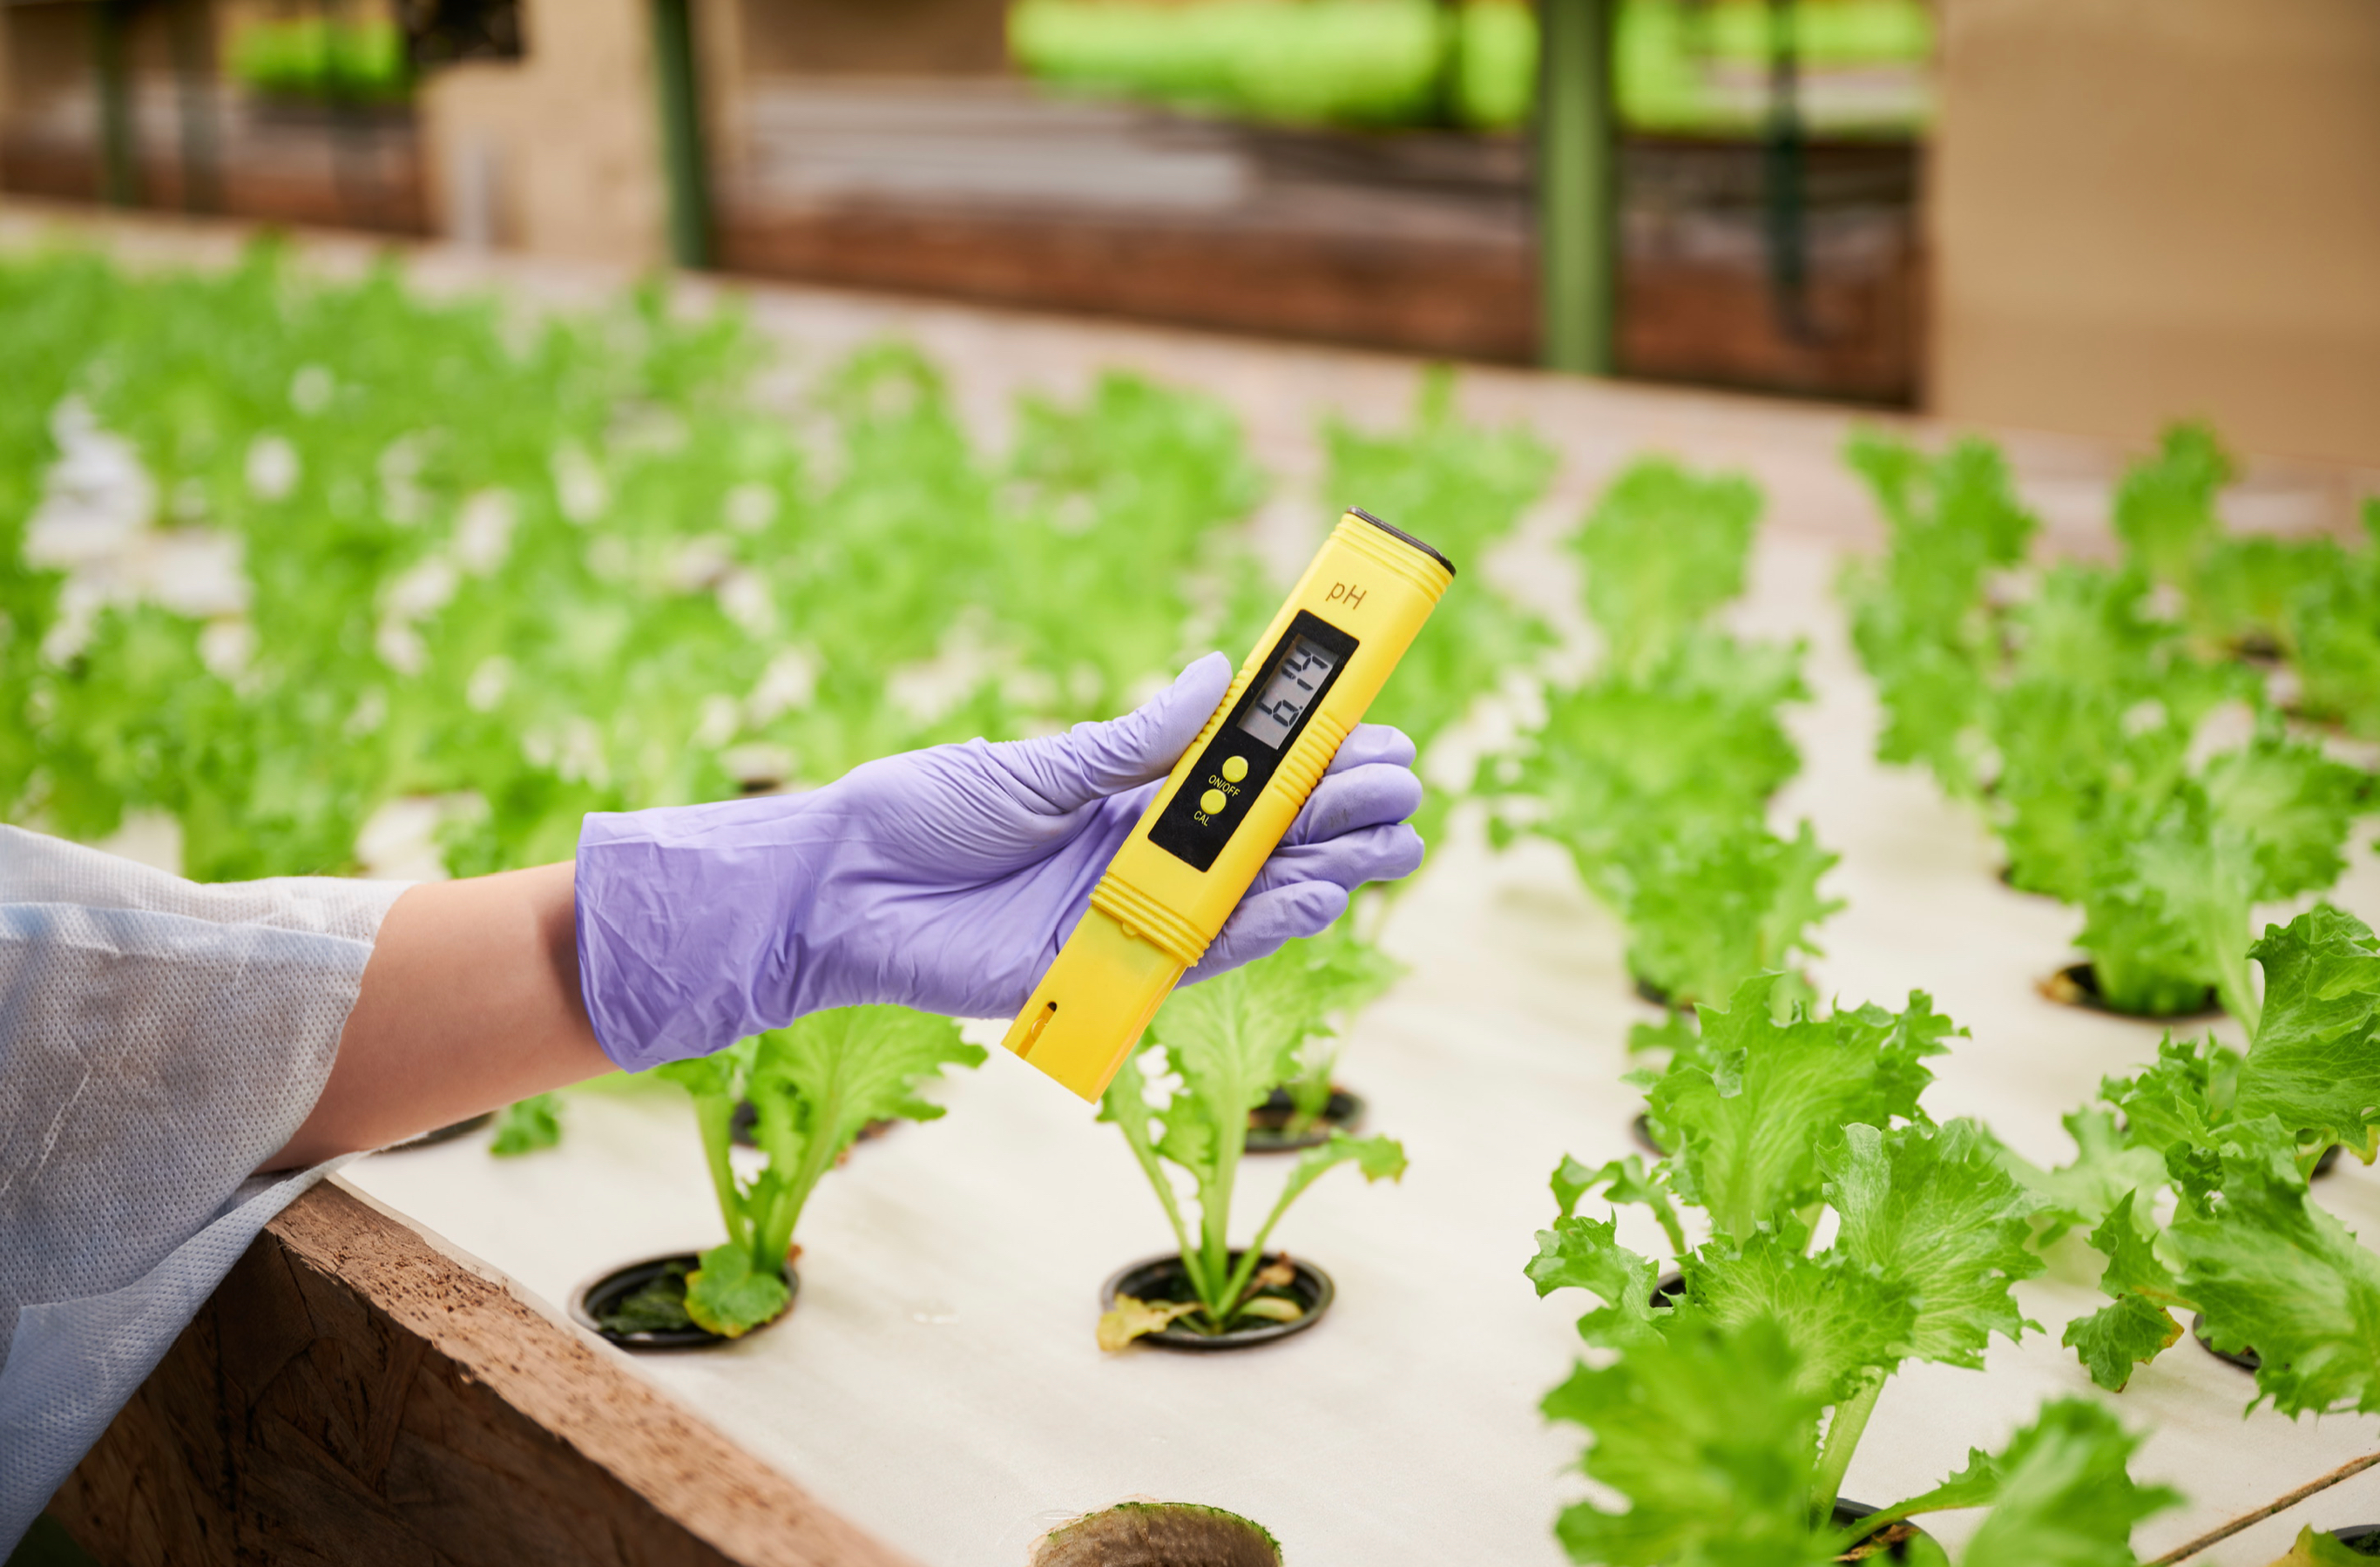
- Place 10 gallons (38L) of water into the black tote (reservoir), and add in the nutrient solution. Check the pH level of your nutrient solution. It should be between 5.5 and 6.5. If it’s outside the recommended range, you can adjust it with the pH control kit.
- Now you can turn on the air pump and ensure the air stone is working correctly and oxygenating your nutrient solution.
- Place your pots in. If you want to drill some small holes around the bottom of the pot on the outside, this may help with drainage and allow more nutrient solution to enter too.
- Place the growing medium into the pots.
- Place your plants into the pots, and ensure the growing medium is packed around them.
- When the plants have first been put in, water them from the top to ensure they don’t dry out until they become accustomed to the ebb and flow system.
- A top tip is that if you are finding that you still have water in your tray even after the drain cycle, you may need to raise your pots by ½ inch (1.2 cm) so that the roots don’t rot.
- When you set your timer, it should be set to fill 3 times a day for 15 minutes at a time. You could, for example, have this occur at 6 a.m., 12 p.m., and 6 p.m.
- Another important thing is that you need to ensure the air pump is situated at a higher level than the reservoir to stop the solution from flowing back into the pump.
- The air stone should produce bubbles 24 hours a day to oxygenate the nutrient solution and to prevent stagnation.
For more great content check out the Proponics YouTube channel below!

By Max Barnes
Max Barnes is a long-time homesteader and author. Max grows the majority of his own food year-round using a variety of different methods, including hydroponics. Hydroponic gardening plays a huge part in his homestead and self-sufficiency goals.


