DIY Indoor Hydroponic Herb Garden
How to Build and Manage an Indoor Hydroponic Herb Garden
Fresh herbs are a fantastic way to add flavour to your meals, but most of the time we choose to settle for dried herbs because when we buy fresh, we might not use everything, and herbs dry out rather quickly. However, growing fresh herbs at home is not as difficult as it might seem, and you can do it even if you don’t have a garden by growing herbs hydroponically. Starting an indoor hydroponic herb garden is not complicated at all. You can buy kits or build your own DIY system. Buying a kit can save you a lot of time; however, if you decide to go with the DIY route, you can customise your system to fit your needs and growing space perfectly. So, without further ado, let’s get to building your own indoor hydroponic herb garden.
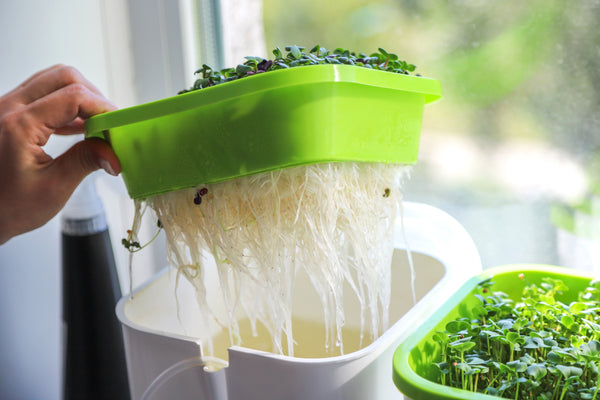
For growing herbs, I would suggest going with a simple Deep Water Culture (DWC) system. Here’s what you’ll need to make a DIY system:
- Plastic tote (it should be opaque and not transparent)
- Black spray paint (optional, to paint the tote if it’s transparent)
- Air pump
- Air stone
- Airline tubing
- Airline tubing holders
- pH testing kit
- Nutrient solution
- 2″ net pots, ideally with a lip (cheaper versions don’t have a lip, but they easily fall through, it is worth getting ones with a lip, even if they’re a bit more expensive).
- Growing medium (there’s no answer as to which one is best, but hydroton expanded clay pebbles are a versatile growing medium that works well with most plants, including herbs)
- Drill hole saw kit and 2” drill bit (optional)
- Herb seeds or seedlings
The container you pick should be opaque because if it’s transparent, it will allow light to enter the reservoir, which in turn will encourage algae growth. If you can’t find an opaque container, you can paint it with spray paint on the outside.
- Plan where you want your net pots to go, set them out on the tote lid, and mark the spots. Then use a hole saw to cut the holes. If you don’t have a hole saw, you can do it with a knife or scissors, but using a hole saw will give you much cleaner cuts. Make sure to scrape off all of the extra bits of plastic so that you have a nice smooth set of holes with no debris.
- Having quality net pots with the lip will help here, put them through the holes. Ensure the holes aren’t too big so that they do not fall through.
- Drill a hole slightly larger than your 1/8” airline tubing in the short side of your tote, just below the top edge. This will be the airline feed hole. It’s important that this hole be drilled above your water line, or you’ll have a constant leak and never be able to maintain adequate water levels in your reservoir. You can also drill this hole in the tote lid if you want.
- Ensure the air hose can go from the middle of the reservoir to your pump (approx. 3 feet or more, depending on where you have things situated). Connect your air stone to the end of the air hose and put the other end of the air hose through the tote lid and connect to a check valve and check that this allows air flow. Connect the other end of the check valve to the air pump.
- Put the nutrient solution into the reservoir, ensuring that it covers the bottom of your plants’ roots. A top tip is to mark the tote with a water level mark so that you don’t have to measure this when you come to change the water—you just know where you should fill it up to.
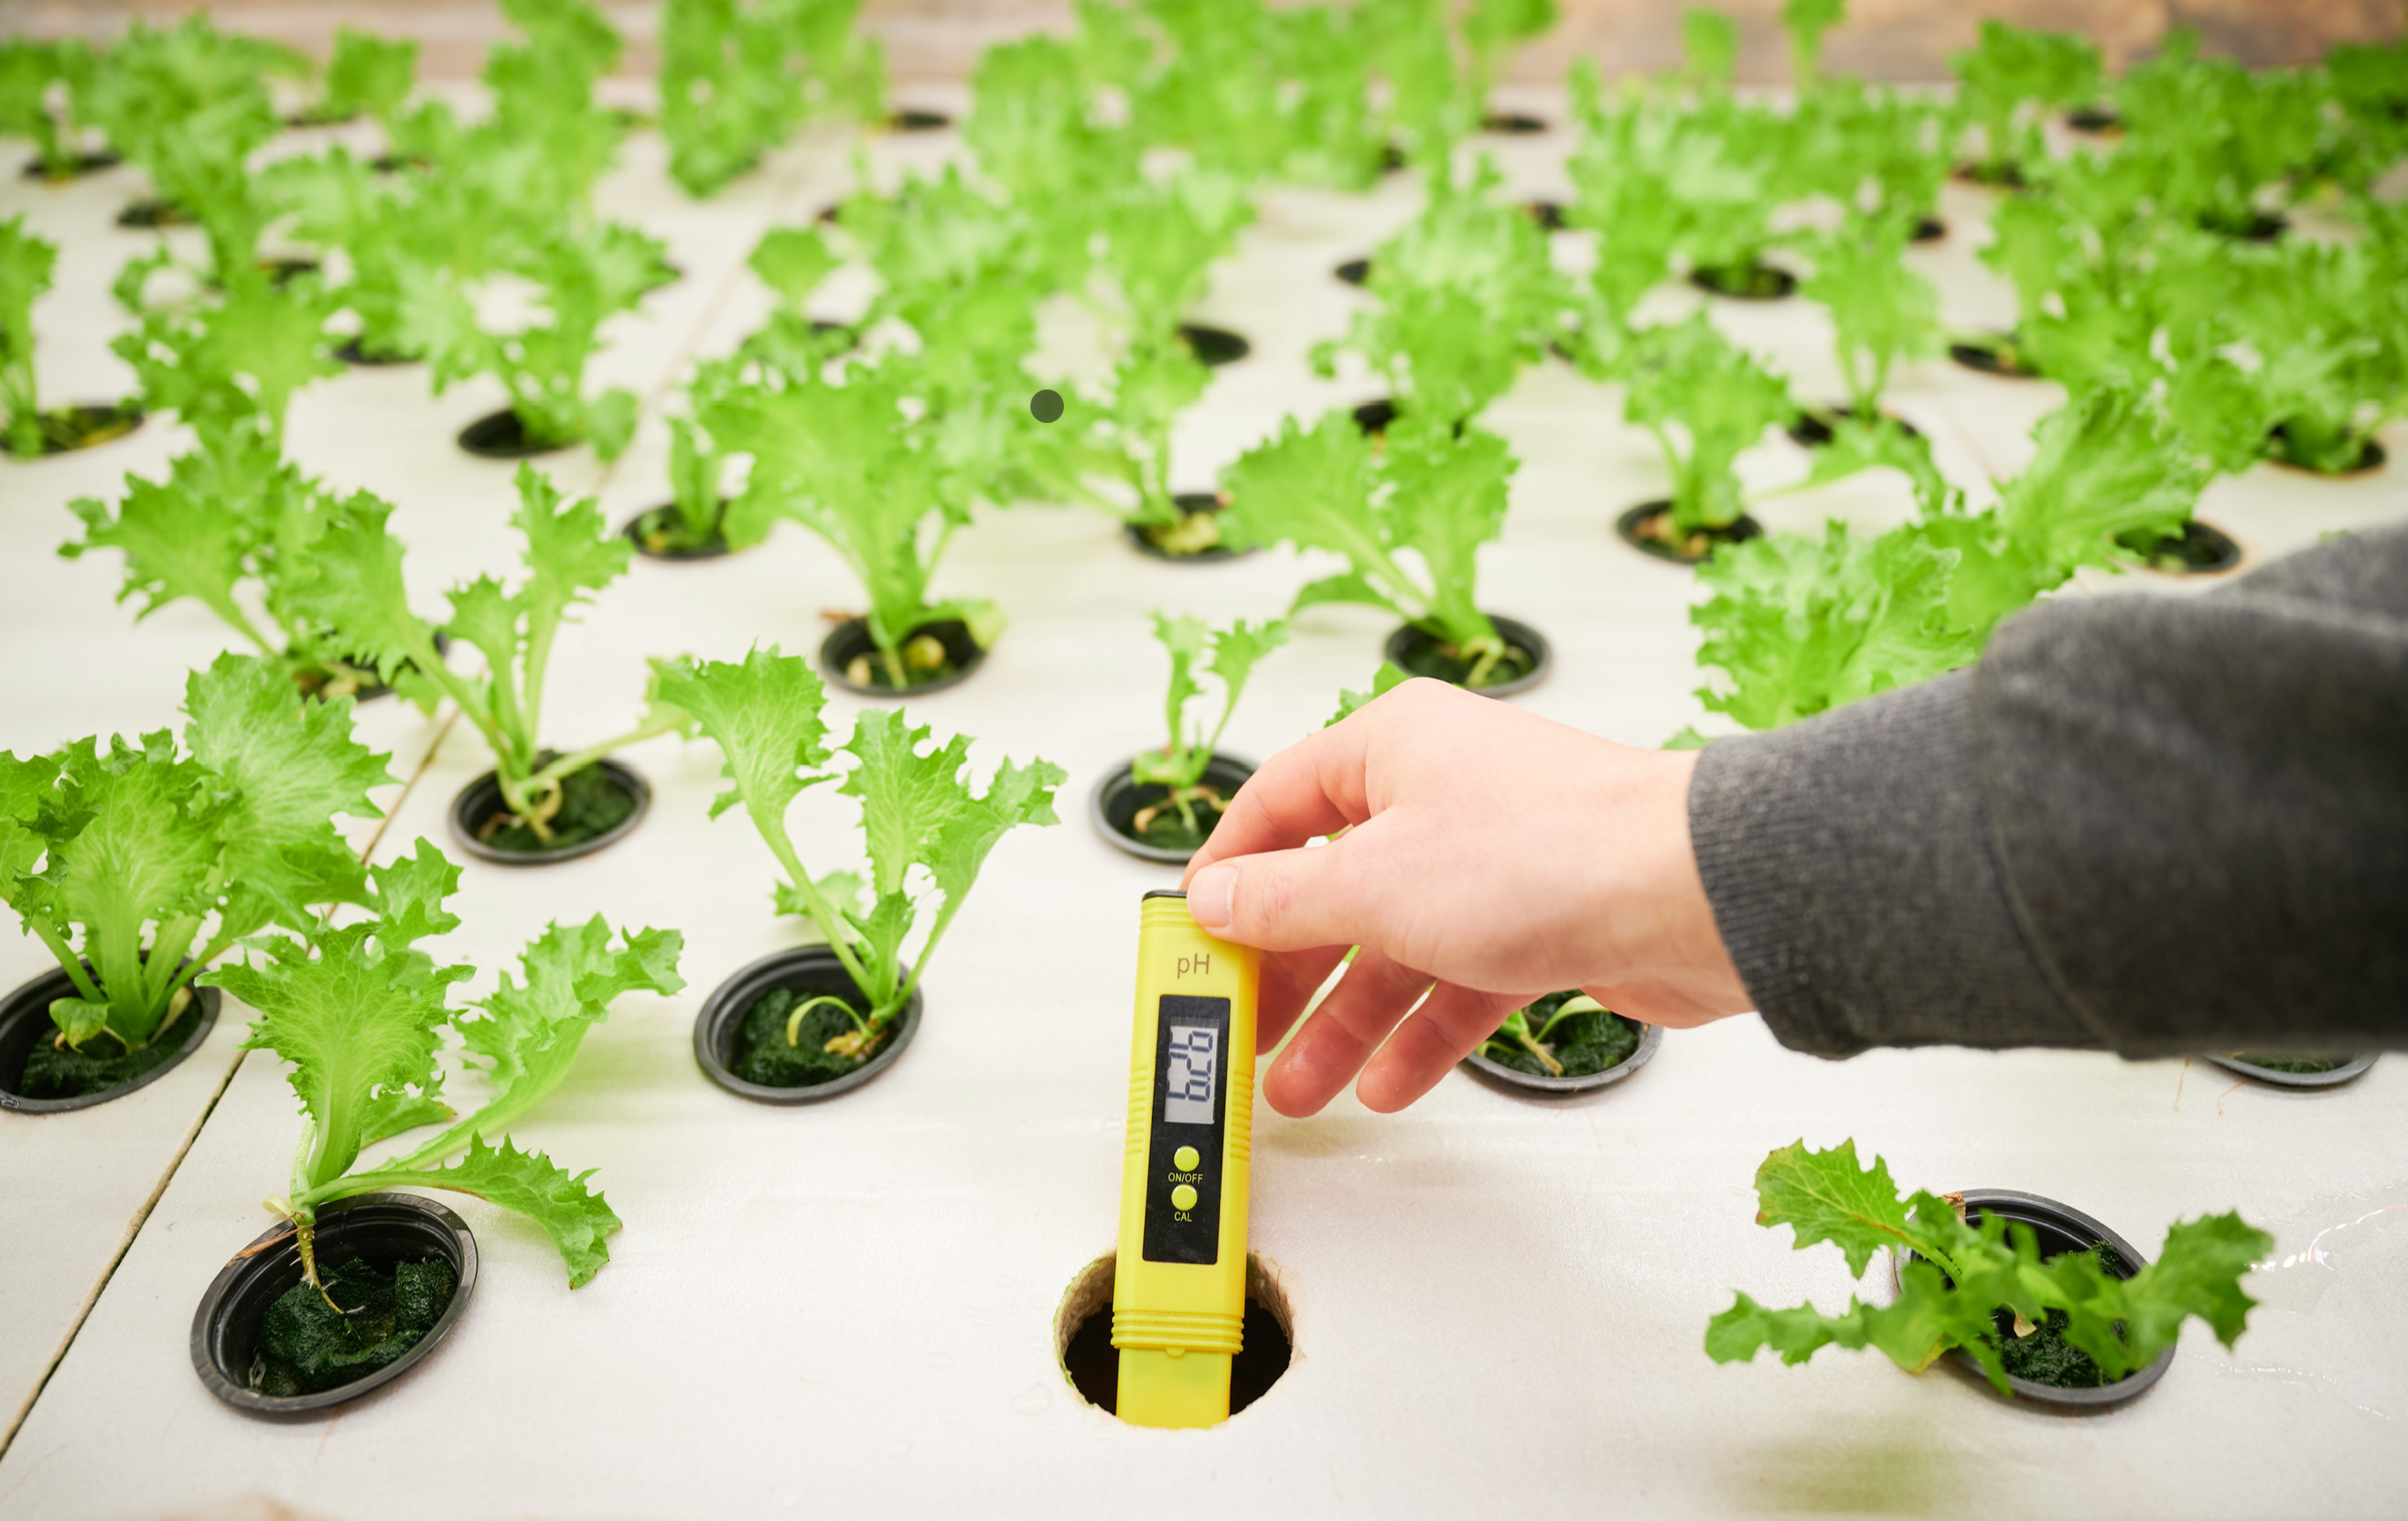
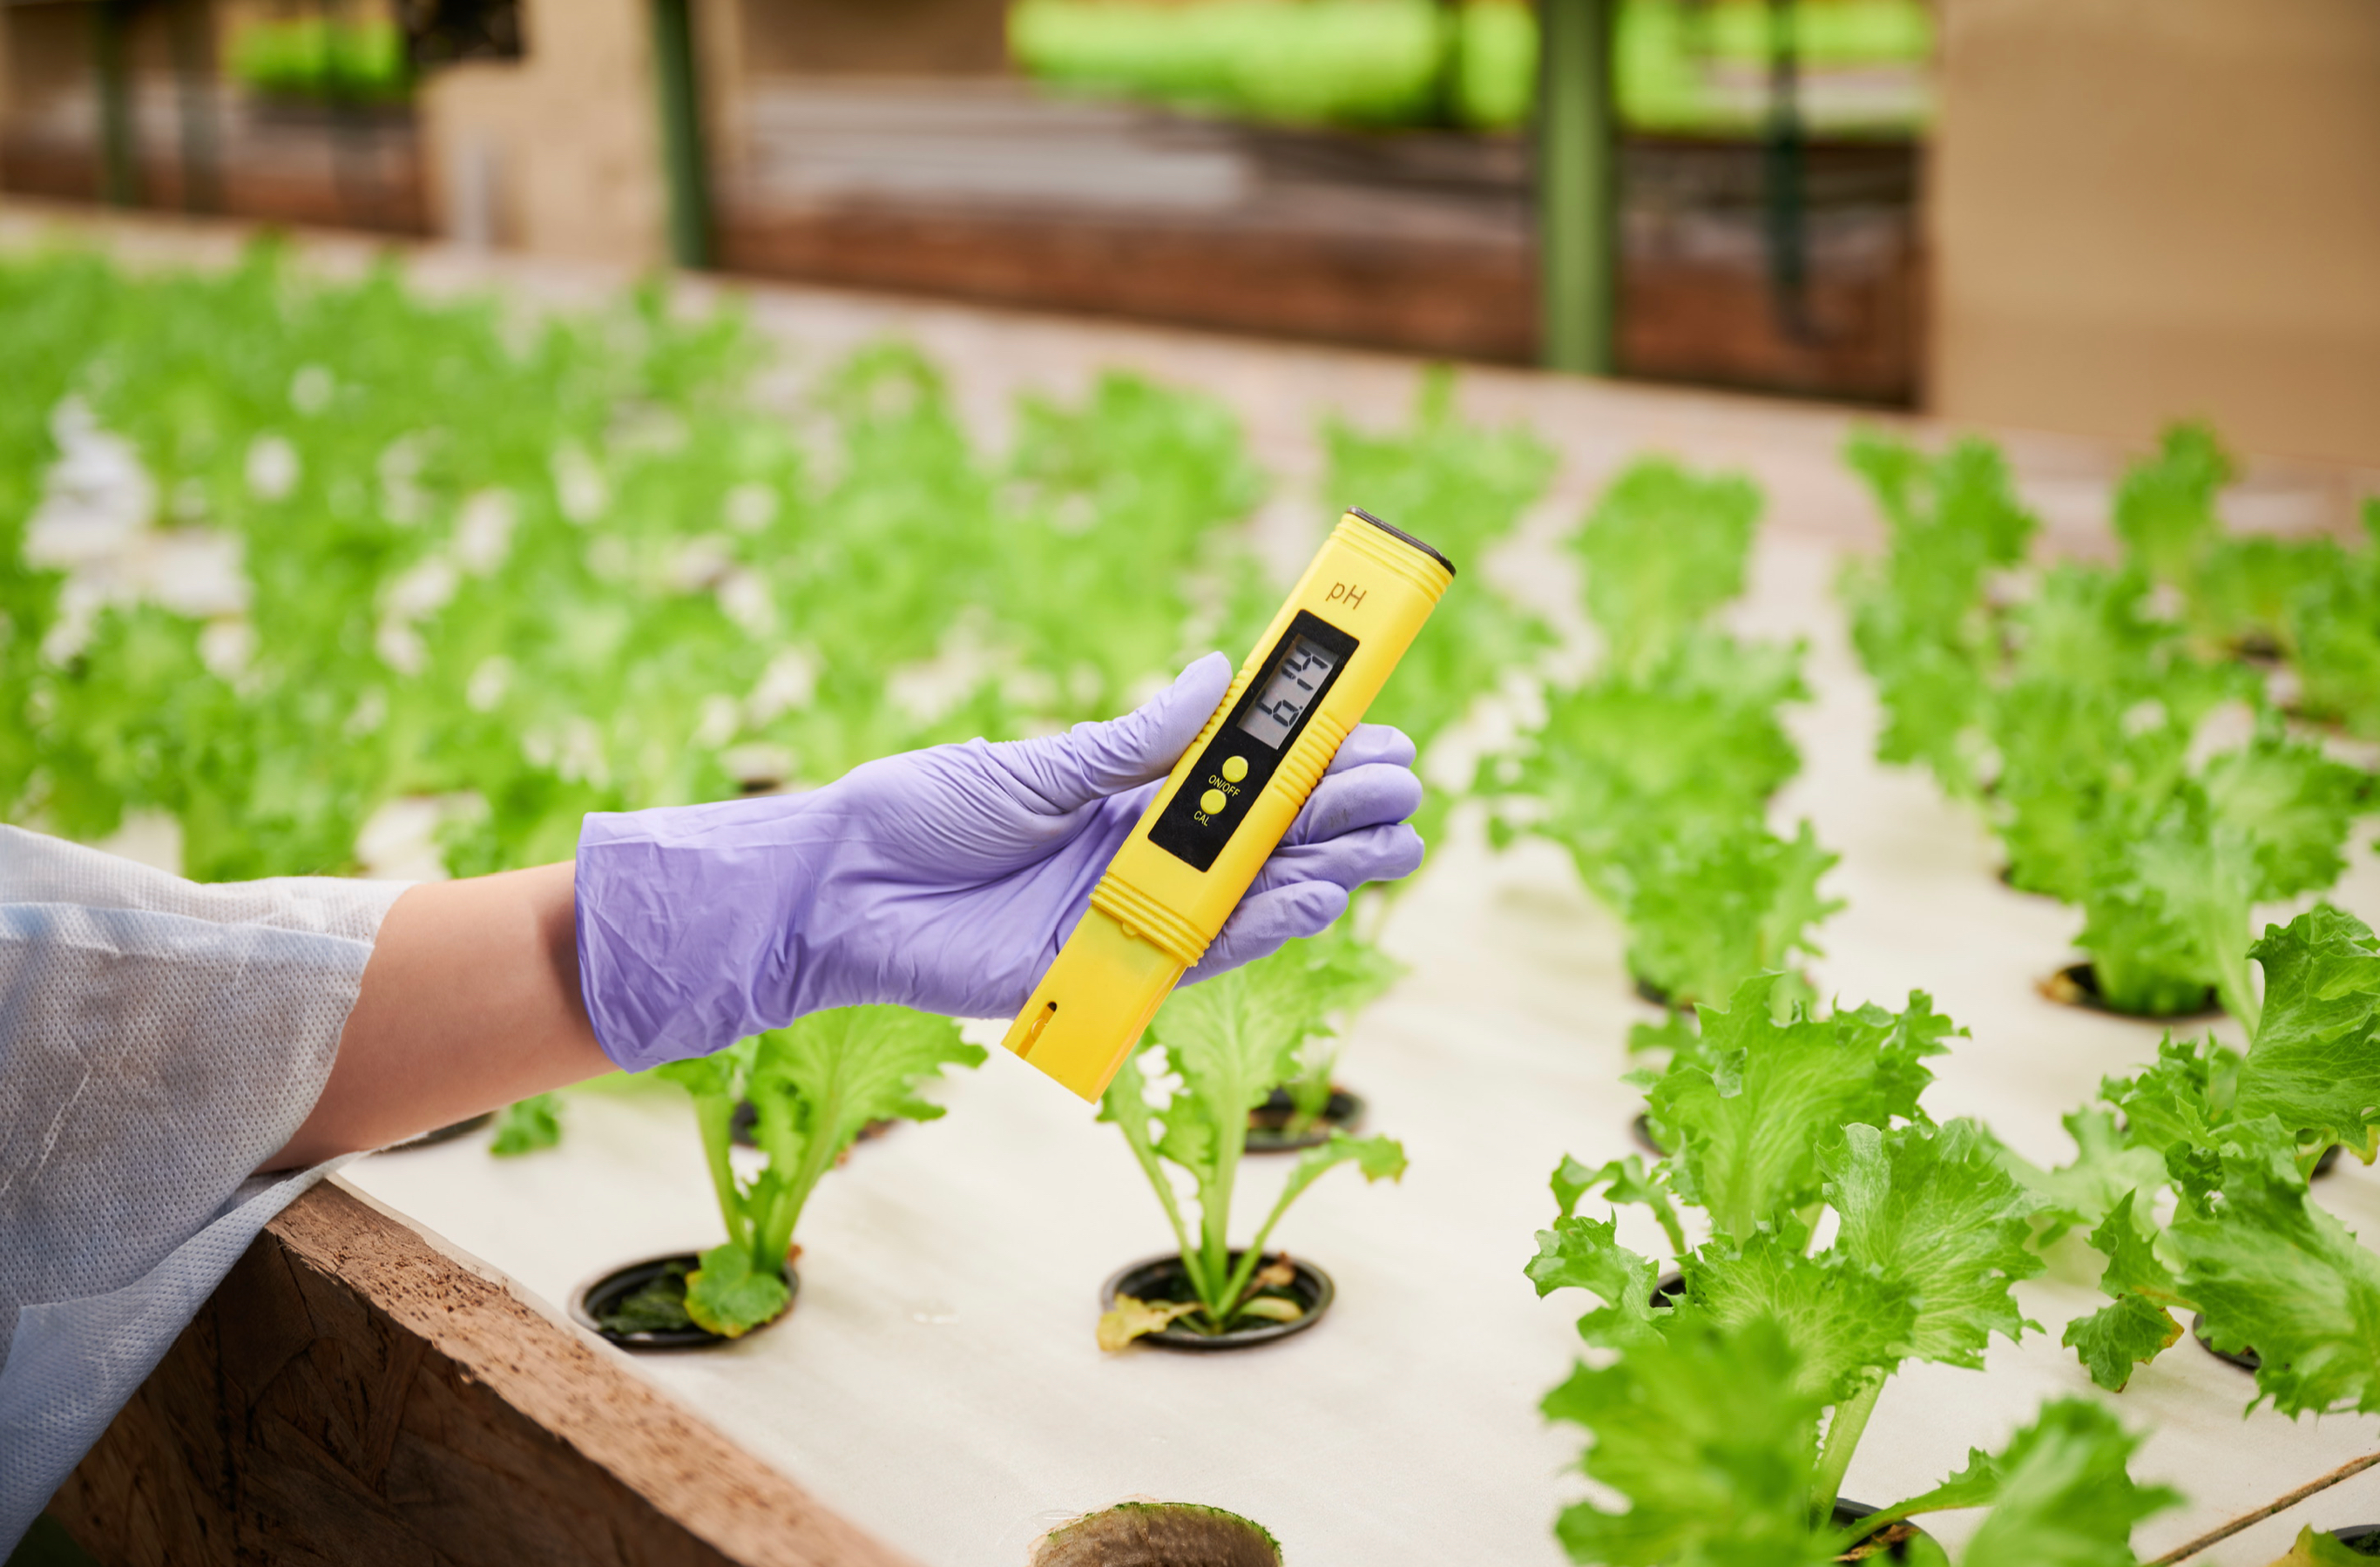
- After adding the nutrient solution, check the pH level after 15 minutes and adjust accordingly if needed.
- Add your plants—you can put your growing medium into the net pot, put the plant in, then add more growing medium so that the plants don’t fall over and stand upright.
Place your garden in an area that gets a lot of light—most herbs need at least 6 hours of sunlight per day. If that’s not possible, you will need to get grow lights for your garden. You would typically use fluorescent or LED (light-emitting diode) grow lights for growing herbs. Metal halide (MH) and high-pressure sodium (HPS) lights produce lots of heat and can burn seedlings. Fluorescent grow lights are cheaper than LEDs; however, LED grow lights have a few benefits over fluorescent grow lights. They are more energy efficient and last longer than fluorescent grow lights. They also don’t lose their effectiveness over time.
DWC hydroponics is low maintenance once the initial set up has been done. You will need to top up the nutrient solution every 2–3 weeks and ensure the pump works properly at all times in order to provide oxygen to the air stone. You can harvest your herbs whenever you need them, but don’t harvest more than 1/3 of a plant. You need to harvest herbs before they start flowering because then they lose their flavor. If you see your herbs start flowering, you can pinch off the flowers and let them continue to grow.
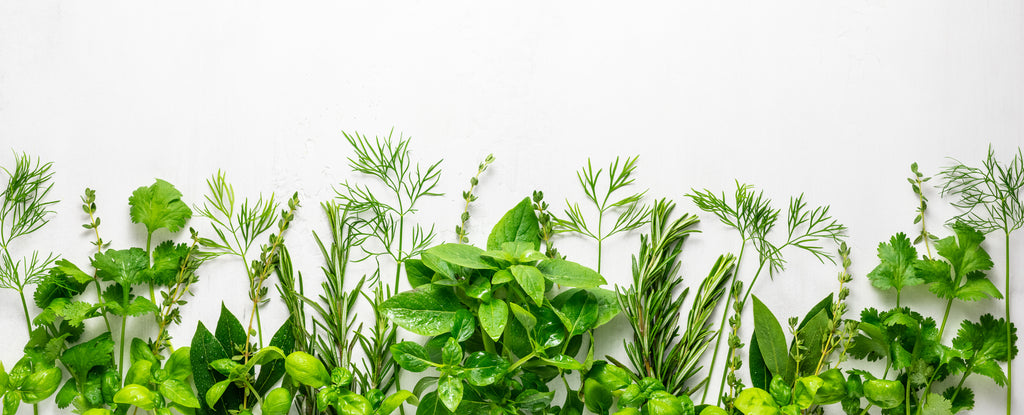
Below you can find information on growing various herbs in your indoor hydroponic herb garden:
Basil
Planting: Germinate from seed or start from clone
Harvesting: Prune apical meristem to cue lateral growth
Pests and diseases: Potential threatening pests include nematodes, aphids, thrips, flea beetles, whiteflies, snails, and slugs. Diseases include damping off, root rot, leaf spot diseases, fusarium wilt, and downy mildew
pH range: 5.5–6.5
EC/PPM: 1.6–2.2/800–1100
Light hours: 14–18
Temperature Range: 65–90°F (18–32°C) Ideal: 75°F (24°C)
Mint
Planting: Germinate from seed, or start from cutting, or rootstock
Harvesting: Multiple harvests through pruning, the last of which the entire crop is harvested completely
Pests and diseases: Occasional verticillum wilt and powdery mildew
pH range: 5.5–6.5
EC/PPM: 1.6–2.6 / 800–1300
Light hours: 14–18
Temperature: Range: 55–75°F (13–24°C) Ideal: 70°F (21°C)
Oregano
Planting: Germinating from seed works, propagation by cutting is best
Harvesting: Multiple harvests through pruning, the last of which the entire crop is harvested completely
Pests and diseases: Pests include thrips, whiteflies, aphids, spider mites, and leaf miners. Diseases affecting oregano plants are primarily caused by fungi.
pH range: 5.5–6.5
EC/PPM: 1.5–2.0/750–1000
Light hours: 14–18
Temperature Range: 55–80°F (13–27°C) Ideal: 70°F (21°C)
Parsley
Planting: Germinate from seed
Harvesting: Multiple harvests—it’s common to harvest parsley twice before replanting
Pests and diseases: Pests and diseases are rare, the most common pests are thrips and aphids
pH range: 5.5–6.5
EC/PPM: 1.4–2.4/700–1200
Light hours: 14–18
Temperature Range: 55–80°F (13–27°C) Ideal: 70°F (21°C)
Rosemary
Planting: Germinating from seed is very difficult, propagation from clone is fastest and easiest
Harvesting: Multiple harvests are common through pruning
Pests and diseases: Pests and diseases are rare, the most common are botrytis and powdery mildew when overwatered
pH range: 5.5–6.5
EC/PPM: 1.2–1.8/600–900
Light hours: 14–18
Temperature Range: 60–80°F (15–27°C) Ideal: 75°F (24°C)
For more great content check out the Proponics YouTube channel below!

By Max Barnes
Max Barnes is a long-time homesteader and author. Max grows the majority of his own food year-round using a variety of different methods, including hydroponics. Hydroponic gardening plays a huge part in his homestead and self-sufficiency goals.


