Hydroponic Microgreens - A Grower’s Guide
What Are Hydroponic Microgreens and How to Grow Them
You’ve probably heard about microgreens and their many benefits, and perhaps you want to start growing them but don’t want to deal with the messy soil. In this case, growing hydroponic microgreens might be the solution for you. While microgreens are typically grown in soil and growing hydroponic microgreens is relatively new, it’s still a great way to grow microgreens without all the mess that comes with traditional soil-based gardening. In this article, we’ll cover everything you need to know to grow hydroponic microgreens at home, including how to set up your hydroponic system for growing microgreens, what growing medium to use, and how to grow microgreens hydroponically from seed to harvest.
But before that, let’s take a look at what microgreens actually are and why they’ve become so popular. Microgreens are essentially seedlings of vegetables and herbs that are harvested just before the first leaves have developed. You might be wondering, why would anyone harvest plants so early? The main reason is because young seedlings have excellent flavour and texture, and they can be grown year-round for little money. They are rather easy to grow and can be harvested in as little as 1–2 weeks.
Microgreens became popular in the 1980s, when chefs started looking for affordable ways to spice up their dishes. Today, many restaurants use microgreens to garnish their dishes and many people use them in their home-cooked meals too.
You can grow a lot of different microgreens. Some of the more popular options are broccoli, cabbage, clover, kohlrabi, kale, mustard, radish, pea, sunflower, wheatgrass, and amaranth.
Growing Hydroponic Microgreens at Home
Here’s what you’ll need to grow your own hydroponic microgreens:
- 2 growing trays without holes
- 1 growing tray with holes (you can simply poke some holes if you can’t find trays with holes). All trays need to be the same size. I usually use 10x20-inch (25x50-cm) trays because they are very common and easy to find. 2 trays without holes and 1 tray with holes will make one small hydroponic system for growing microgreens. You can get more trays if you want to grow more microgreens at the same time.
- Growing medium, such as BioStrate growing mats, hemp mats, jute pads, coco coir, or vermiculite
- Seeds
- Filtered or distilled water
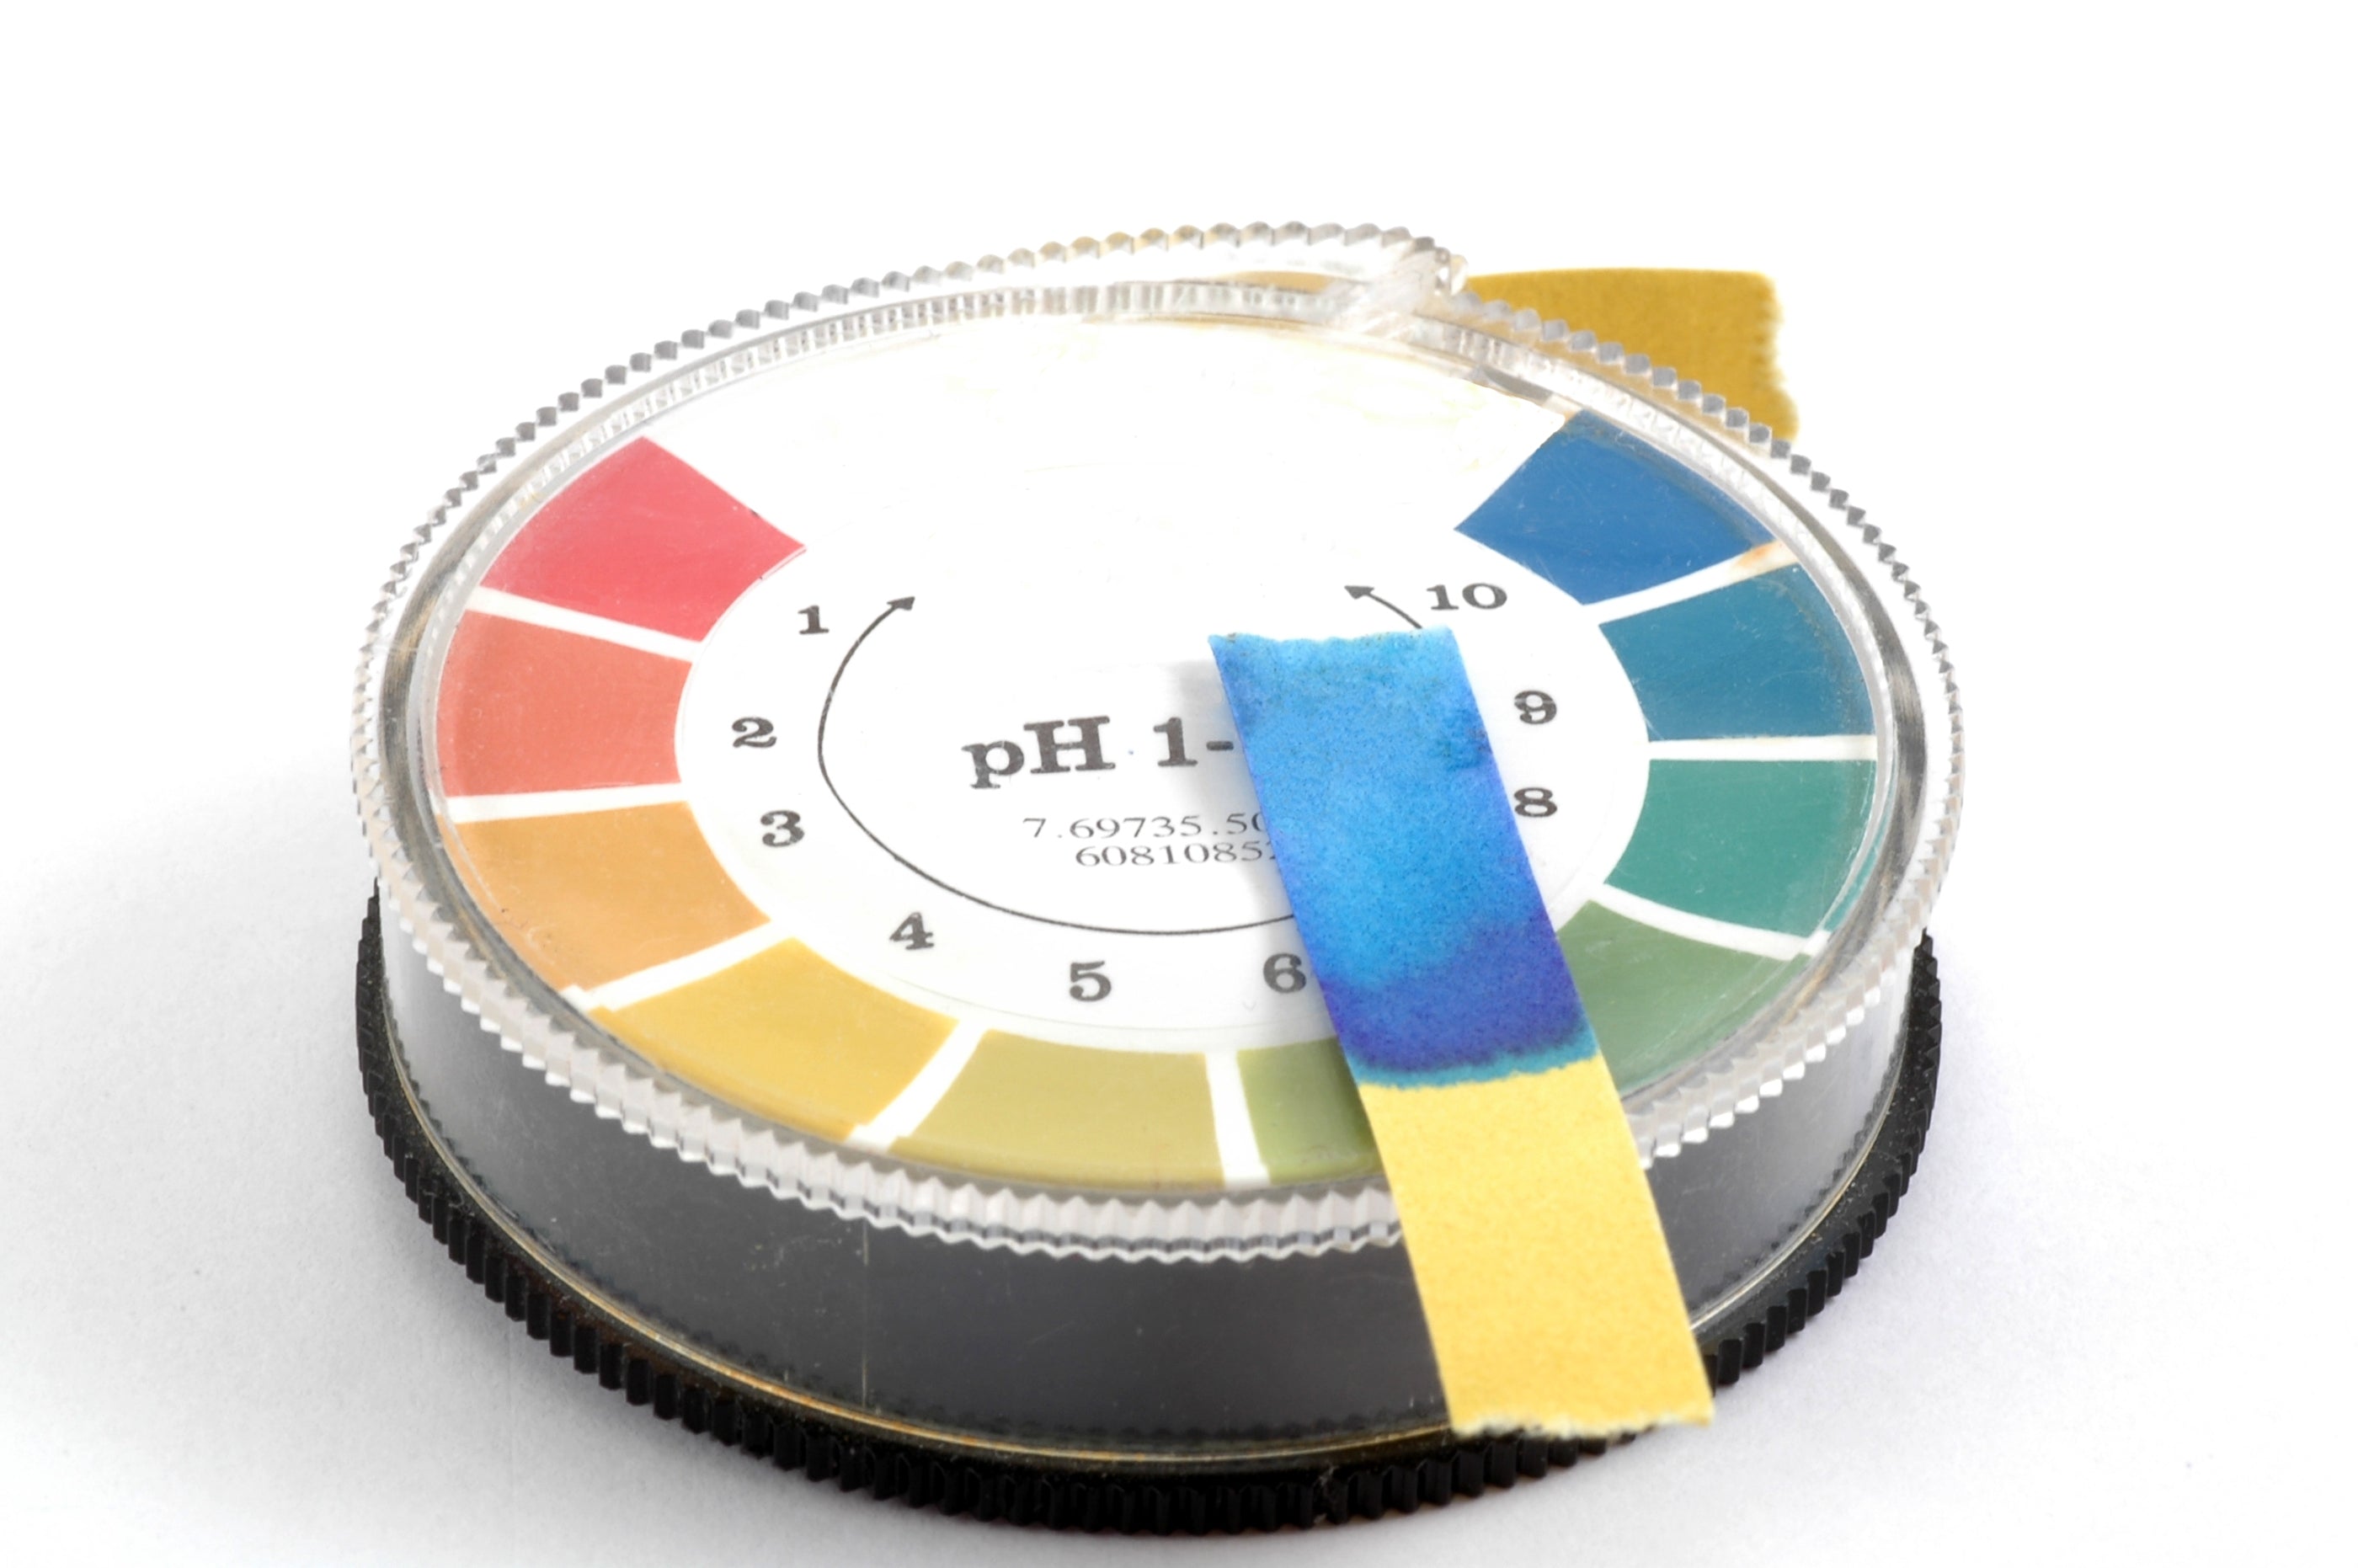
- pH control kit to adjust the pH level of water
- Nutrient solution
- Spray bottle
- LED or fluorescent grow lights
- Scissors for harvesting

And here’s how you can grow hydroponic microgreens from seed to harvest:
- Take one of the trays with holes and place it inside a tray without holes. The top tray will be used to hold the growing medium, and the bottom one will be used to hold the nutrient solution after the seeds germinate.
- Ideally, you should use filtered or distilled water to grow microgreens and for hydroponics in general. You can use tap water, but you’ll need to prepare it before using it. You can let it stand in the sun for at least 24 hours or boil it and let it cool down so that chlorine can evaporate. You will also need to balance the pH level of the water using the pH control kit. It should be between 5.5 and 6.5, ideally 6.
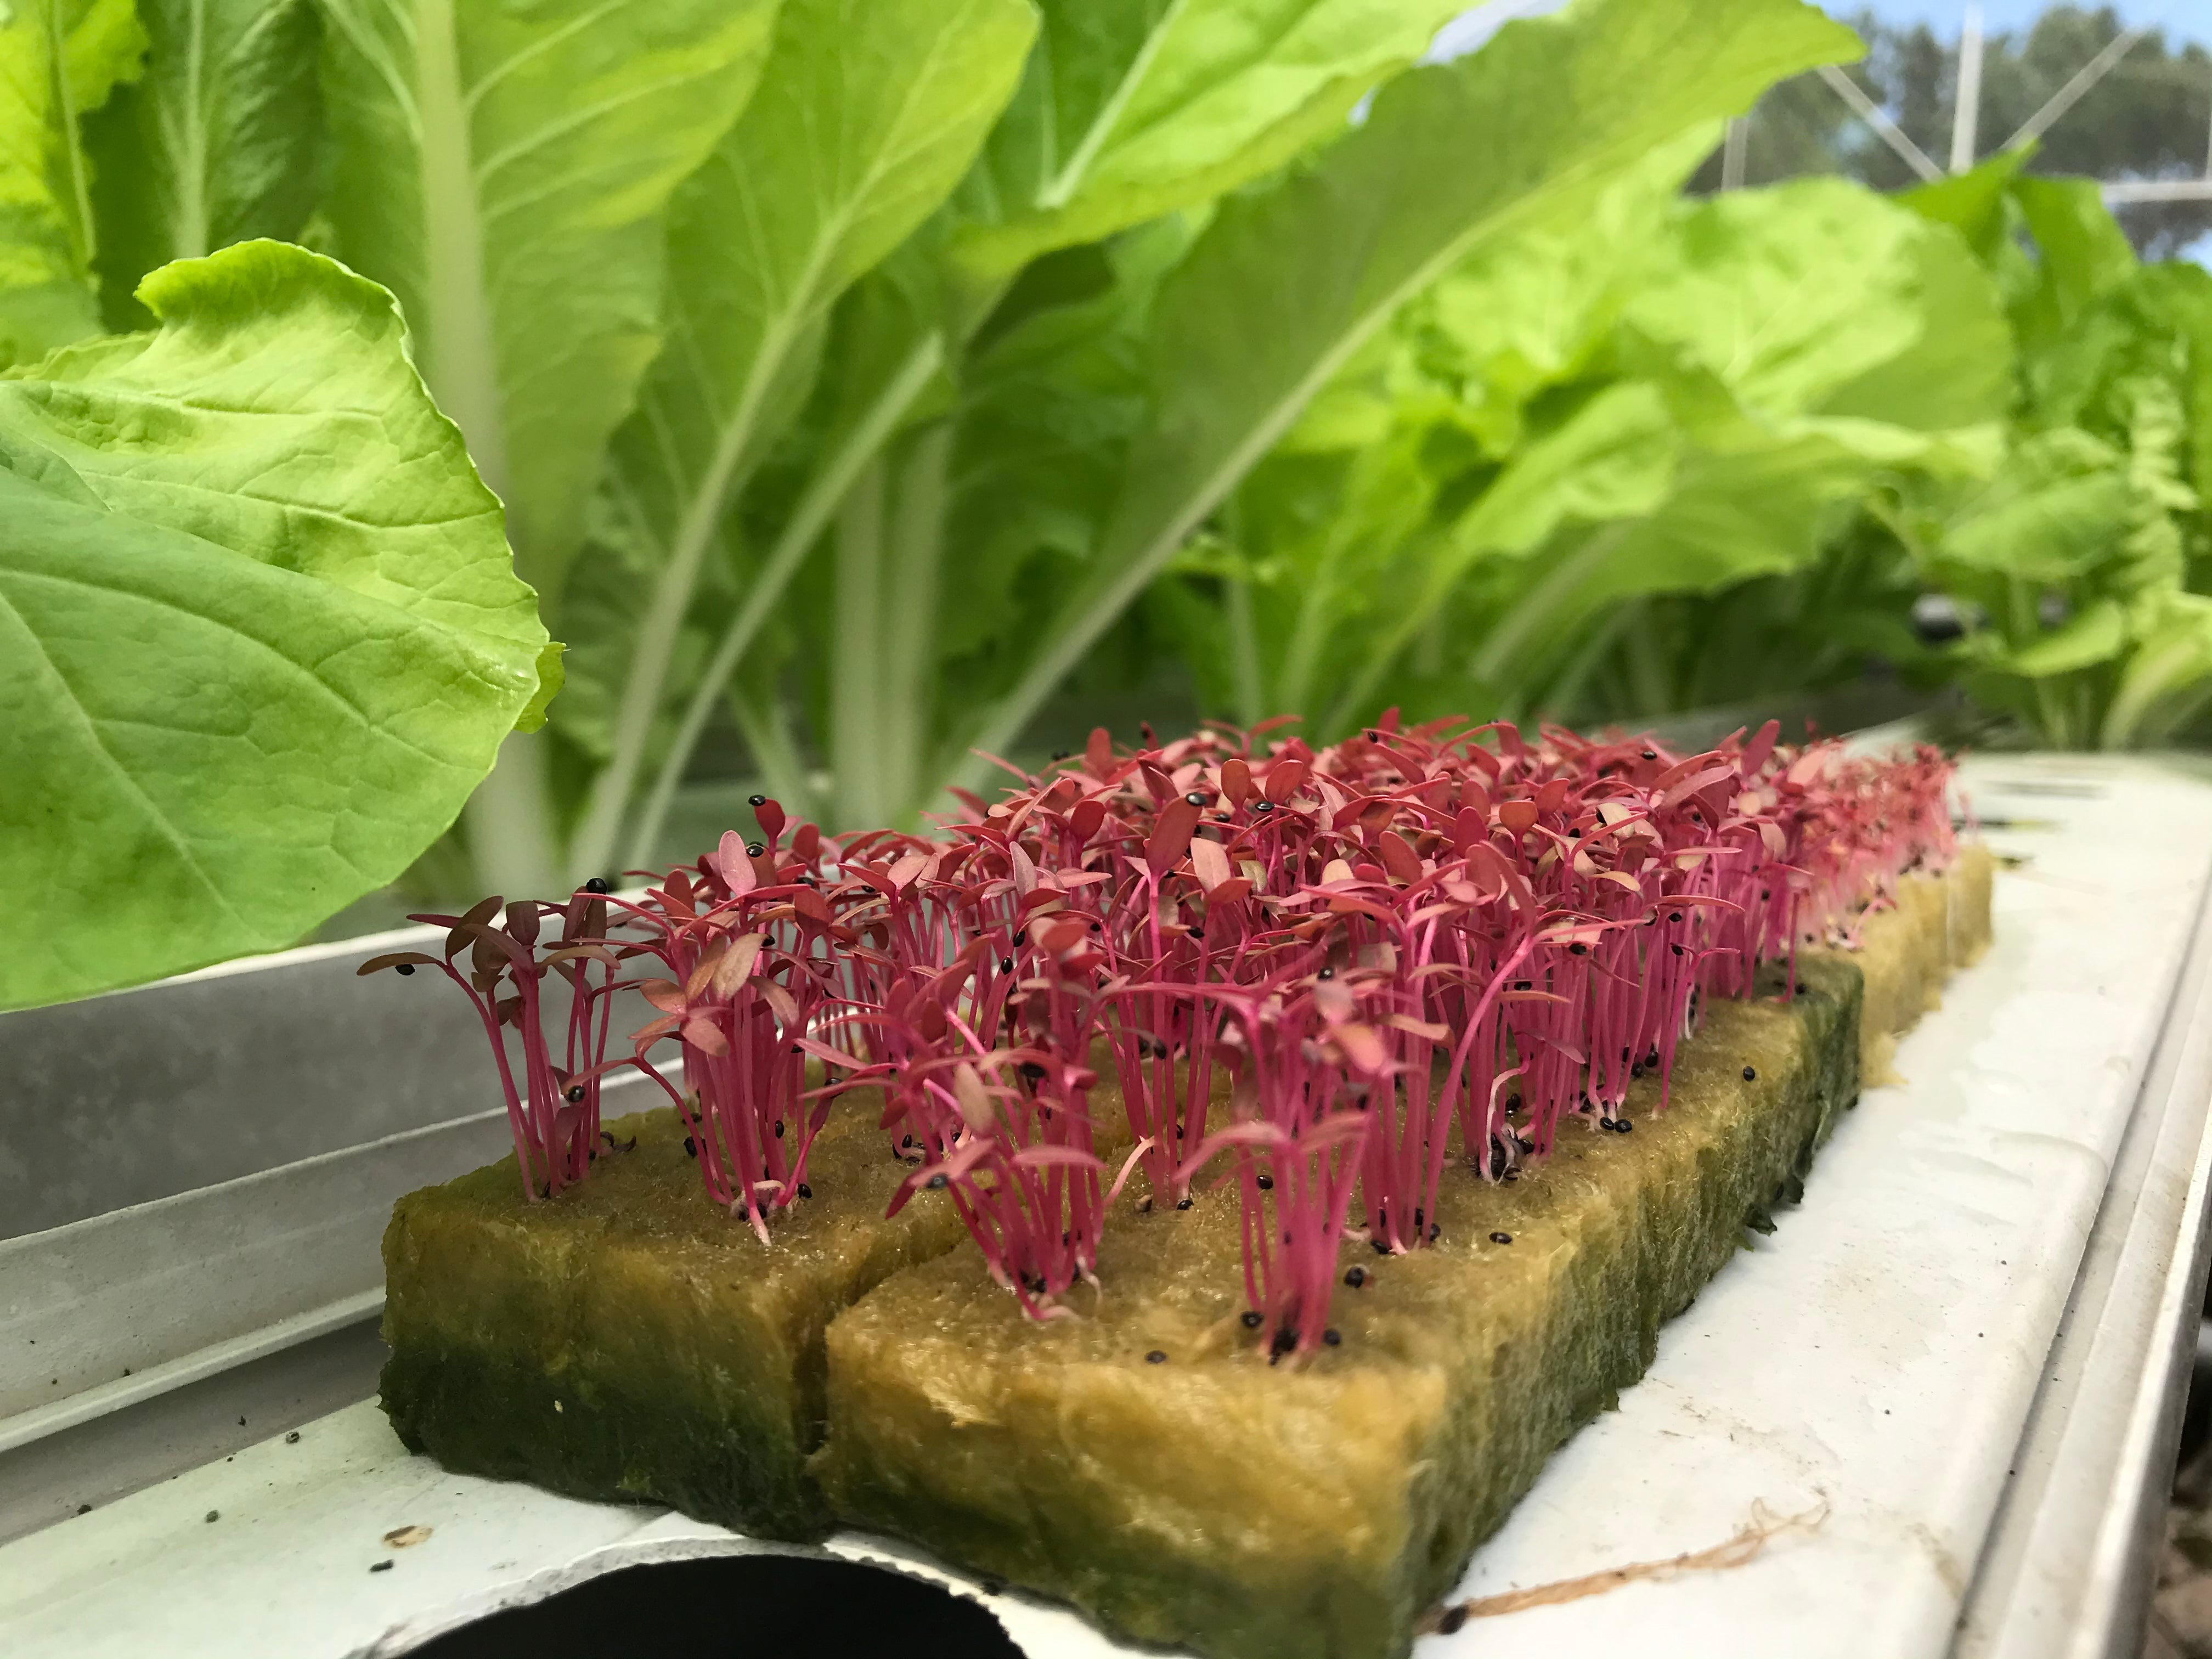
- Soak your growing medium in pH balanced water until it’s completely saturated. Let it drip for a few seconds before placing it into the top tray. I personally prefer using BioStrate growing mats, but other options mentioned previously work well too.
- Now, you can sprinkle the seeds on top of the growing medium. You will need different amounts of seeds for different types of microgreens. Your seed packet should have information on how many seeds you should plant per square centimeter or square inch. If your seed packet doesn’t have that information, you can usually plant 1 large seed or 2 small seeds per square centimeter or 6–8 large seeds or 10–12 small seeds per square inch. You can also find microgreen seed calculators online that will help you determine how many seeds you should plant. Some calculators tell you how many grams of seeds you should plant, so you will need a scale to measure the correct amount of seeds.
- After you’ve sprinkled the seeds all over the growing medium, spray them with pH balanced water just enough to get them all coated. Take a tray without holes, flip it upside down, and use it to cover your growing tray. You need to do this because microgreens seeds need a dark, moist environment to germinate. Put your covered growing tray somewhere safe, where it’s not too cold or hot. Microgreens germinate best in temperatures between 20 and 22ºC (68–72ºF).
- You’ll need to keep your seeds covered and water them twice a day for the next few days. Only open the tray to water the seeds. Simply spray them with plain water until the seeds and growing pad look moist. Don’t forget to cover them after spraying them with water.
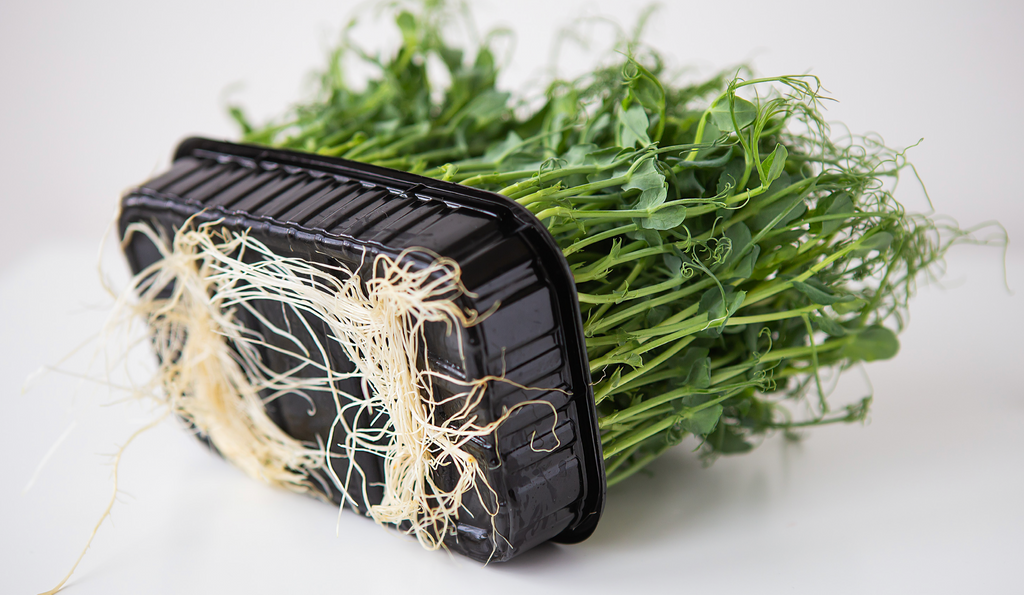
- After 4–5 days your seeds should germinate. You can lift the tray with the growing medium and you should see the roots poking out of the bottom. You can now remove the cover tray and start bottom-watering. Make a 1/4 strength nutrient solution and pour half a cup of it into the bottom tray. Place the growing tray somewhere where it will get lots of light, like a sunny windowsill or under grow lights. Microgreens should get at least 6 hours of sunlight per day or 12–16 hours of artificial light. You can put them on a sunny windowsill, and they should do just fine if they get enough light. However, I prefer using grow lights because it guarantees your microgreens will get enough light to grow and thrive. LED or fluorescent grow lights are best for growing microgreens because they produce white/blue light that microgreens need to grow and generate very little heat.
- Continue bottom-watering your microgreens with the nutrient solution like this (half a cup twice a day) for at least a week.
- Different varieties of microgreens take different time to grow. Some can be ready to harvest in as little as 7 days, but most should be ready in 10–12 days. You can check your seed packet to see how long your particular variety takes to grow until harvest. Use the scissors to harvest your microgreens. Simply hold their canopy and cut as close to the growing medium as possible. If you want to store your microgreens in the fridge, don’t wash them. Dry them by placing them between two paper towers, and then put them into a resealable plastic bag or a plastic container with a lid. You can store them in the fridge like this for about a week.
For more great content check out the Proponics YouTube channel below!

By Max Barnes
Max Barnes is a long-time homesteader and author. Max grows the majority of his own food year-round using a variety of different methods, including hydroponics. Hydroponic gardening plays a huge part in his homestead and self-sufficiency goals.


