Easy Hydroponic Coriander at Home
Growing Coriander at Home without Soil
Coriander is a popular herb and is used in many dishes around the world. And while you can buy dried coriander in your local supermarket, it doesn’t come close to having fresh, zesty coriander (or any herbs for that matter) to give a kick of flavour to your dishes. Not only does fresh coriander taste great, but it also has lots of vitamins, minerals, and antioxidants that provide significant health benefits.
So, if you want to grow coriander at home but don’t want to mess about with soil, you’ve come to the right place. The good news is that you can grow coriander (as well as lots of other herbs, vegetables, and fruits) hydroponically. Hydroponics is a way to grow plants in a nutrient-rich solution without soil. While it may sound unusual and futuristic, hydroponics isn’t new. In the past, it’s been used at the Hanging Gardens of Babylon, the floating gardens in China, and it’s been used by NASA to grow bean seedlings in space.
In this article, we’ll cover everything you need to know to grow coriander at home, from the types of hydroponic systems that are best suited to growing coriander to harvesting fresh, delicious coriander that you’ve grown yourself.
Best Type of Hydroponic System for Growing Coriander at Home
While coriander can be grown in any type of hydroponic system, some systems are better suited to growing coriander than others. If you’re a beginner to hydroponics, then I would suggest getting a kit, such as the ProGro Smart Garden. It’s a compact all-in-one solution that allows you to grow herbs and smaller vegetables, such as lettuce, year-round. It’s a very compact and efficient system. It has built-in LED grow lights, so you won’t have to purchase them separately, and it’s app-controlled, which means you can monitor your system even if you’re away from home.
If you’d like to build a DIY system, I would suggest going for a simpler system, such as deep water culture (DWC), wick, or drip systems; however, coriander will grow well in any type of hydroponic system. To understand these different hydroponic systems and how to build them - click here. You will also likely need grow lights if you’re growing indoors. You can find articles on different types of grow lights here, and you can buy grow lights
Choosing Seeds
There are lots of varieties of coriander, including Calypso, Delfino, Orlando, Santos, Slo Bolt, Slovenian, Dwarf, and Lisbon. All of them are suitable for hydroponic cultivation. My personal favourites are Orlando, Slovenian, Dwarf, and Lisbon. Dwarf varieties are perfect if you have limited space. Slovenian coriander is a hardy variety and grows well in hydroponics. Orlando and Lisbon have large leaves, strong fragrance, and taste great.
Starting Seeds
There are a few ways to start seeds hydroponically. The cheapest and perhaps the easiest way is to put your seeds onto wet plugs/cubes and then place them in a Ziploc bag to retain moisture and put them in a place away from direct sunlight for 2–5 days to see if this starts germination. This method doesn’t have the best germination rates, but it’s cheap and easy and always worth a try. Coriander seeds usually take 7–10 days to germinate. After that time, you can transplant the seedling into your hydroponic system.
To start seeds hydroponically in a “proper” way, you will need a cloner, and you can either buy it from a store or build one yourself. Building a cloner is not too difficult—the most difficult part is perhaps drilling the holes in the lid of your container.
Here’s what you need to build a cloner:
- A sturdy plastic bin with a lid that will serve as a reservoir
- Drill
- Hole saw that matches the diameter of your net pots
How to Build a Cloner
- Take the lid of your container and lay out your net pots on top. I usually use 2-inch (5 cm) net pots because you don’t need to keep plants in a cloner too long. However, you can use larger net pots if you want to grow larger plants.
- Trace around your net pots and use the hole saw to drill holes for your net pots in the lid.
- Clean up plastic shavings around the holes. You can use sandpaper to clean up any rough edges.
Once you’ve built or purchased a cloner, here’s what you need to start seeds hydroponically:
- Cloner that you’ve built or purchased from a store
- 2-inch (5 cm) net pots
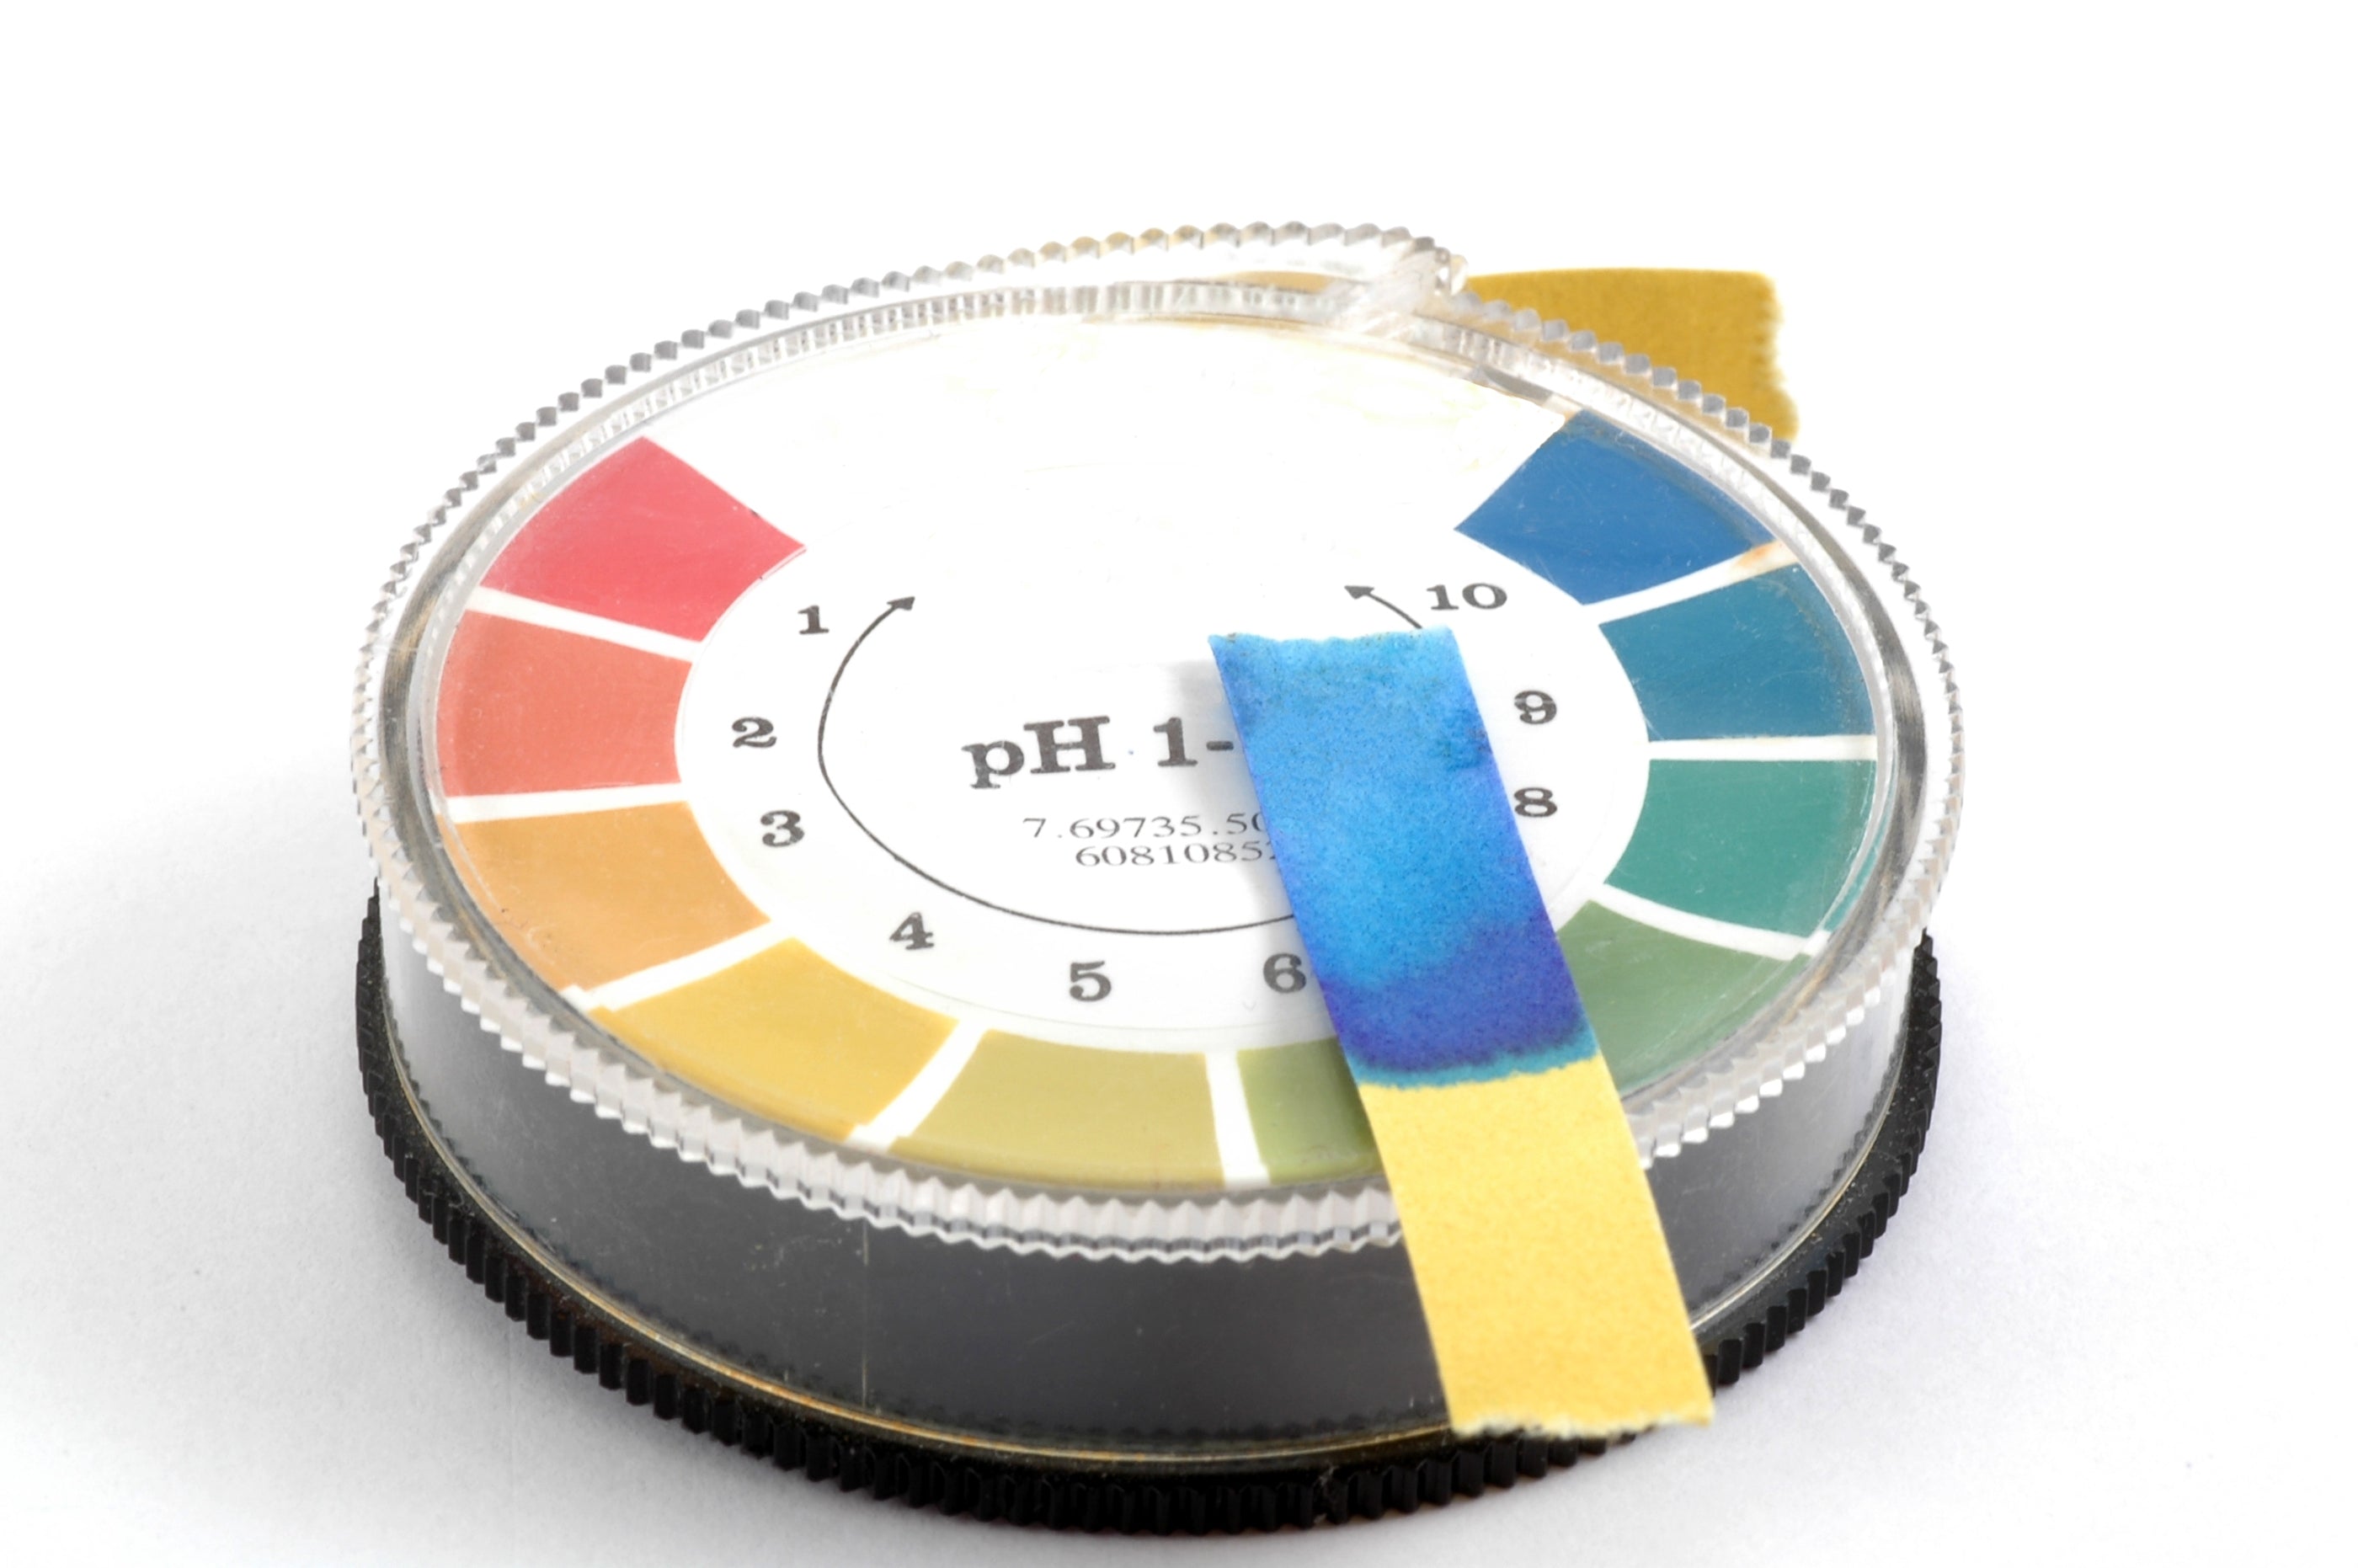
- Rapid rooter starter plugs (usually made of rockwool, coco coir, or decomposed tree bark and peat). If you decide to use rockwool, it has a naturally high pH, typically around 8, so you will need to soak it in slightly acidic water for about an hour to make it suitable for seeds. It’s best to use filtered of distilled water, but tap water can work if it’s the only option available. Add some lemon juice or white vinegar to water until it reaches pH between 5.5 and 6.5. You can also use pH down solution to lower the water pH level.
- Seeds
- Air pump
- Air stone
- Tubing
- If you don’t have adequate lighting, you may need grow lights to help encourage the seeds to grow.
Instructions
- Fill up the cloner with water just below where the net pots sit. At this moment, you don’t need to worry about checking the pH level of the water—using just tap water will be sufficient.
- Put the air pump into the reservoir and connect the tubing, and then outside the reservoir have the other end of the tubing connected to the pump and plug it in. Your air pump should start to bubble.
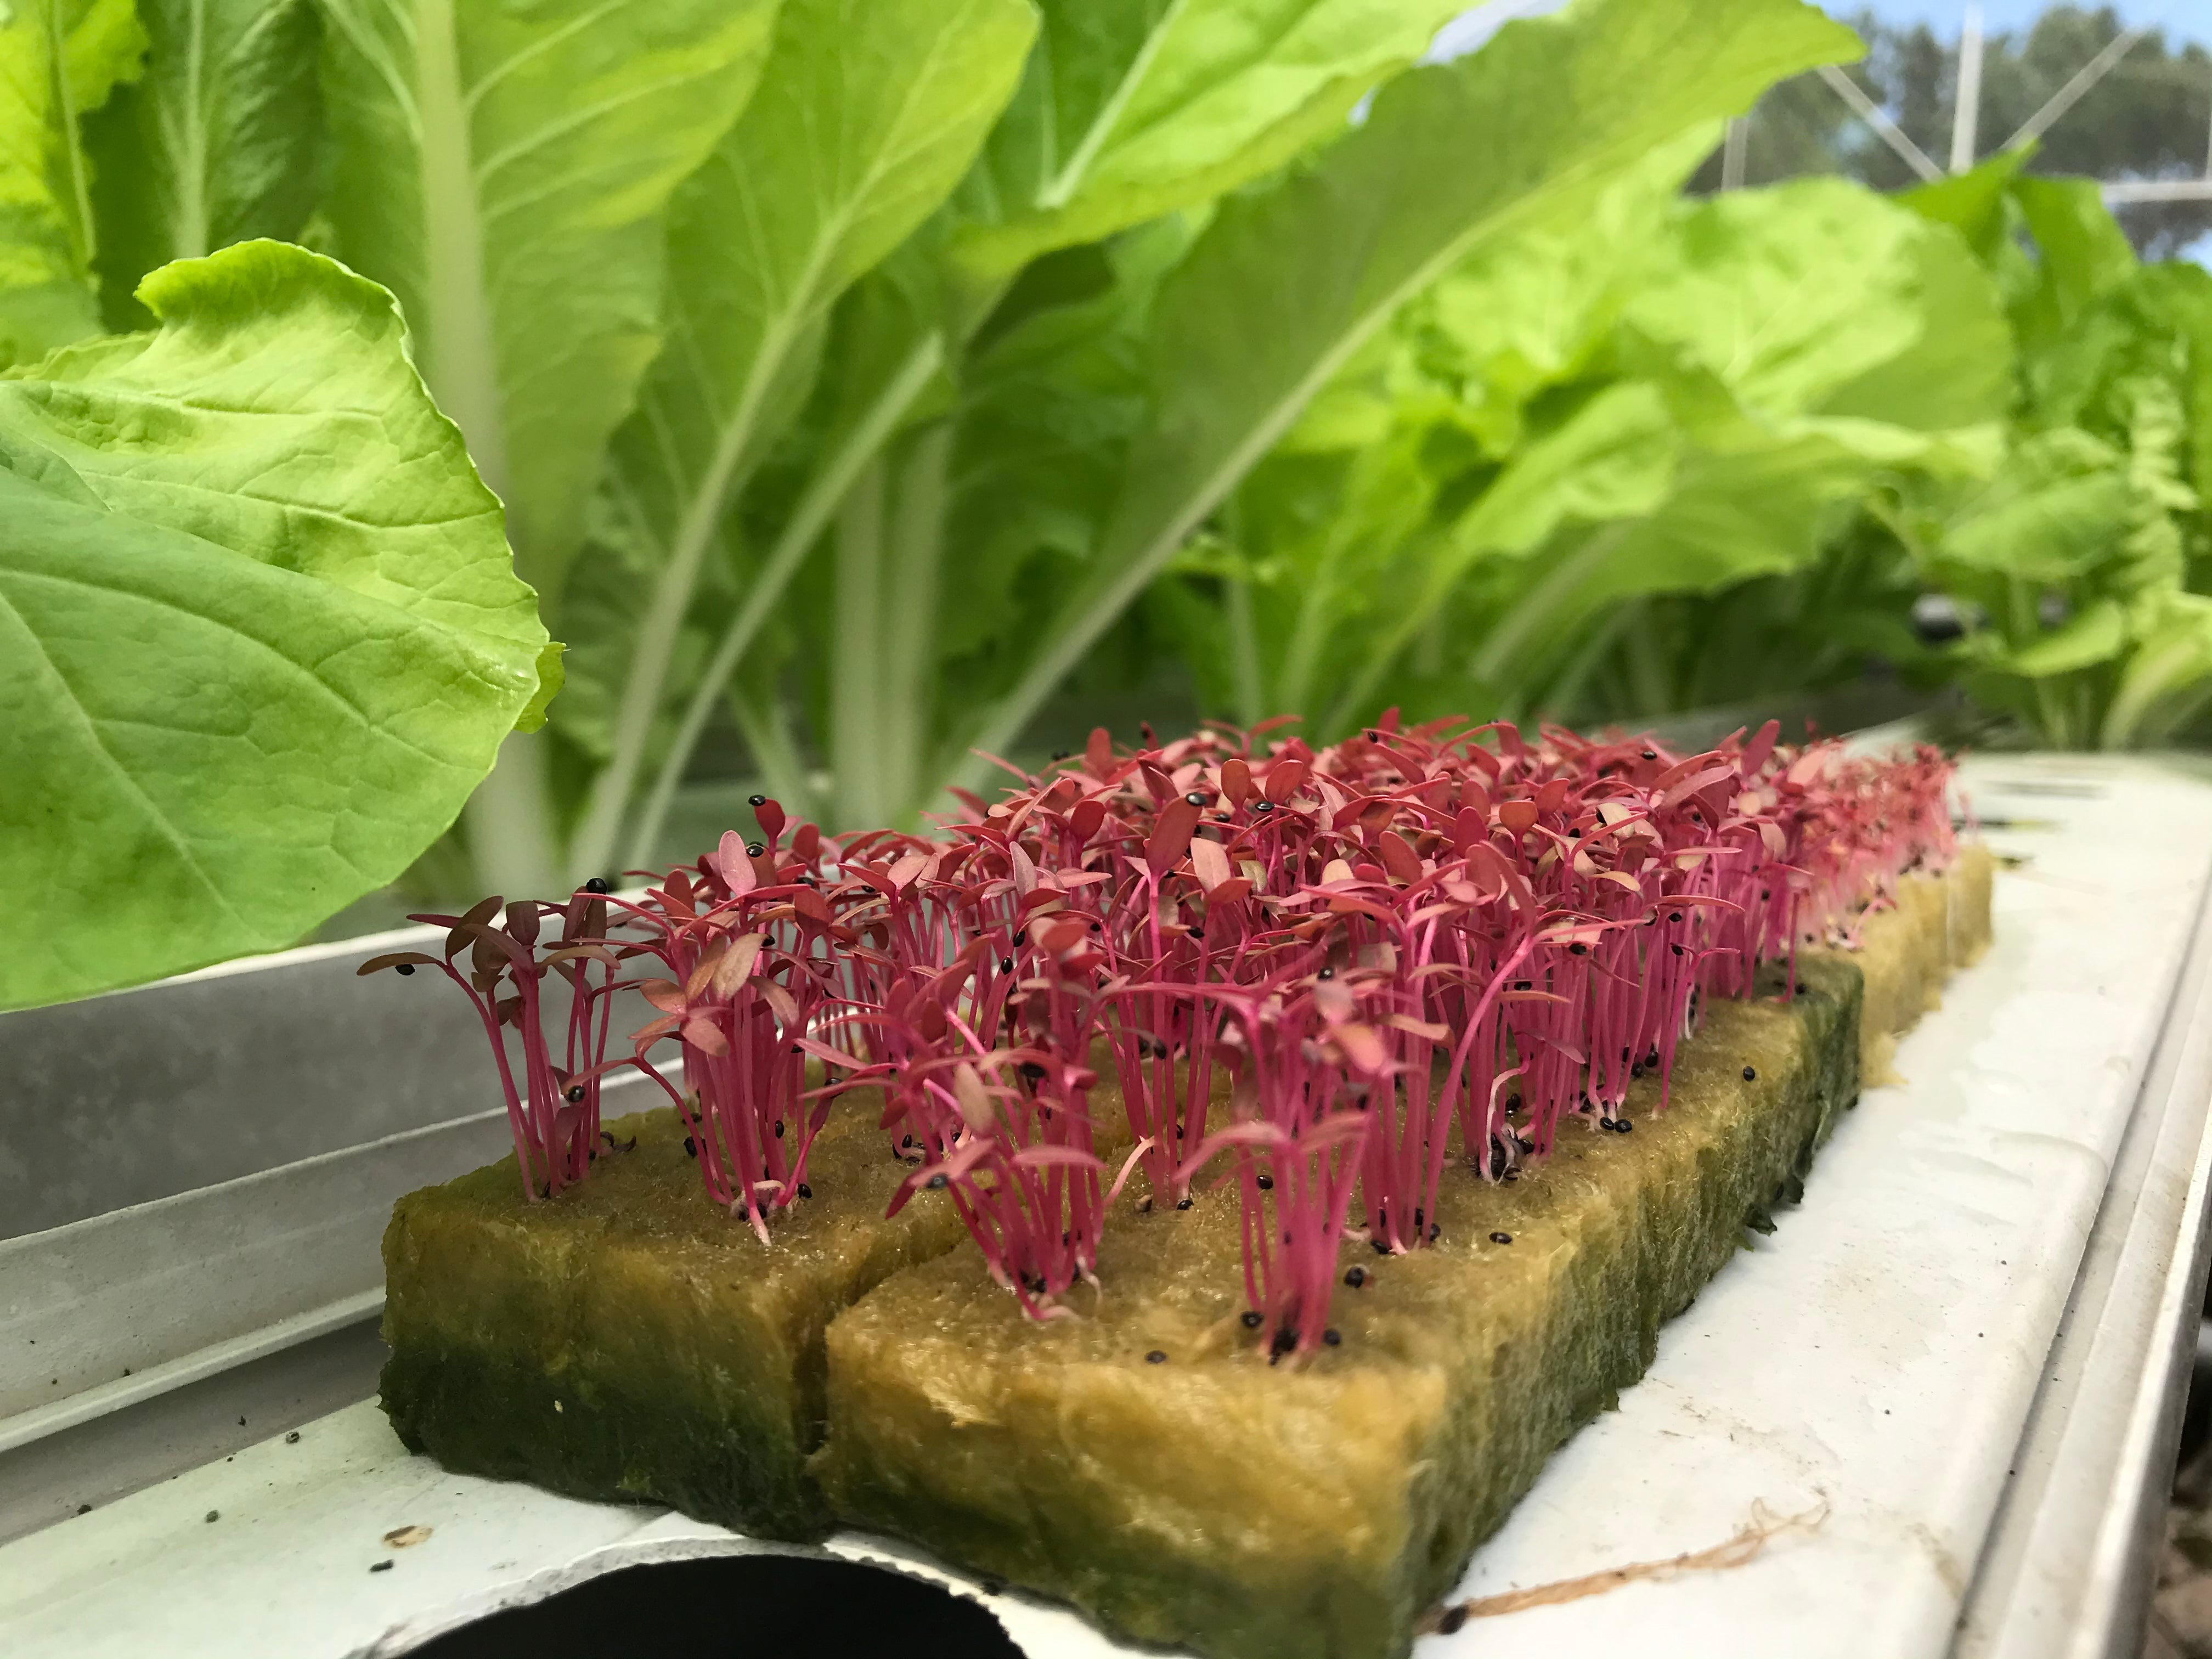
- Soak your starter plugs in water, then put them into a net pot.
- Put 2–3 seeds onto each wet starter plug (not all seeds will grow sadly, which is why 2–3 seeds are suggested).
- Moisten the starter plugs each day by spraying them with a spray bottle a few times.
- The seeds should start to sprout after 3–5 days. It’s best to select the strongest seedlings to transplant to your hydroponic system.
- Once your seeds have germinated, it’s at this point that you can start to concentrate on the pH level of water in your reservoir. It should be between 5.5 and 6.5.
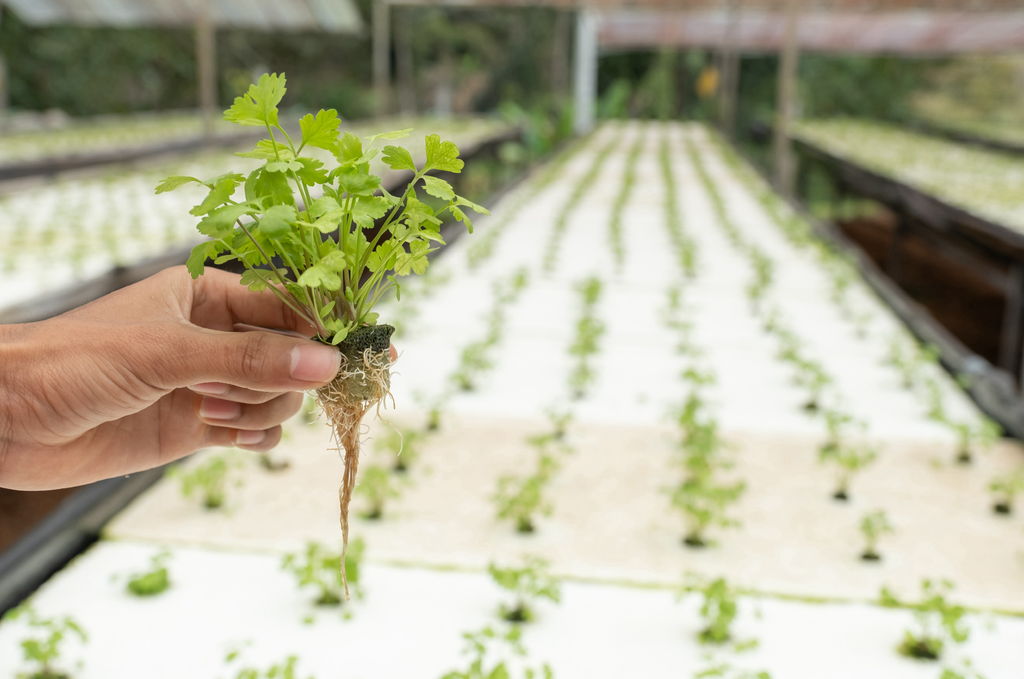
- When your seedlings have roots that poke out of the cube that they’re growing in (which can take 2–4 weeks or sometimes a bit longer) then they’re ready to be transplanted. You can carefully remove the cubes and place them in your hydroponic system. You can cover the cube with a bit more growing medium, and for the first few days, you can water the seedling from the top.
Growing Coriander
Once you’ve transplanted coriander seedlings to your hydroponic system, you’ll need to provide your plants with light using grow lights, monitor pH and EC/PPM, and clean/flush your system periodically. Coriander needs 14–18 hours of light per day. The ideal pH range for coriander is 5.5–6.5, and the ideal EC/PPM range is 1.2–2.0/600–1000. Coriander grows best in temperatures between 10 and 27°C, but ideally, the temperature should be around 18°C.
Click any of the following to find articles covering nutrient management, monitoring pH and EC/PPM and maintaining and cleaning your hydroponic system, so you can refer to them if you’d like to learn more about these topics.
Harvesting Coriander
Coriander usually takes 50–55 days to grow from seed to harvesting. You can harvest whole plants when they are around 6–8 inches (15–20 cm) tall by cutting them at the base.
For more great content check out the Proponics YouTube channel below!

By Max Barnes
Max Barnes is a long-time homesteader and author. Max grows the majority of his own food year-round using a variety of different methods, including hydroponics. Hydroponic gardening plays a huge part in his homestead and self-sufficiency goals.
Hydroponic Fertiliser Explained
Hydroponic Growing Medium Explained